
|
|

a completed shoe last
this should give you a clear idea of what my shoe lasts look like upon completion. the mould for the foot is made with alginate, and the lasts are made of an RTV silicone rubber with a shore hardness of 20A. this is a rubber-band hardness ( stiff is a good way to describe it )
why make lasts when you can buy them ? first of all, used lasts are not custom-fit to your feet. second, lasts are manufactured in runs of varying quantity, meaning you would need to pay for an entire run to have them made new. multiply the run by the cost per pair ... and you don't need to be told each pair is expensive, do you ? maybe you will be lucky enough to find a reasonably priced set online ( give me the Vegas odds on that !) but if you want to try your hand at making your own shoes, this process can save you a lot of time and money as well as helping to get a good fit
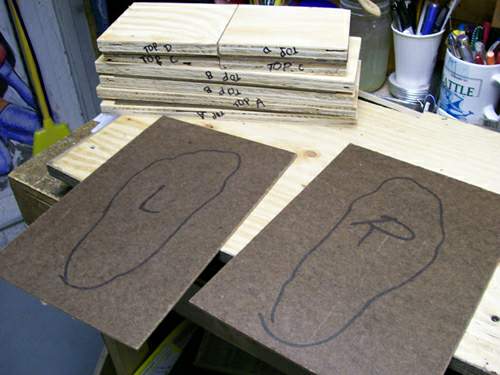
making the mould box - outline of foot
using discarded scrap masonite i cut two pieces slightly larger than my footprint. tracing around my feet with a marker established an initial, minimal, perimeter for the inside dimensions of the box
the closer these dimensions conform to the foot, the less material will be needed. alginate should have about half an inch thickness around the model ( all surfaces of your foot ) due to its lack of strength. telling exactly where your feet are when they are submerged in opaque goop is surprisingly challenging, meaning the space around your foot at pour time is an unknown variable. all these factors have to be considered when determining the inner dimensions of the mould box. also note that the masonite lining provides a smooth surface, but as alginate is advertised as a one-time use mould material, we don't care about removing it. if a different moulding material ( multiple-use ) were being used this would be desirable, but this was not a factor in selecting materials - they were simply free, and available
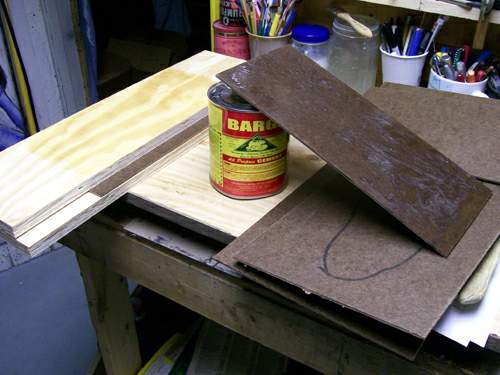
making the mould box - preparing the box walls
the plywood and masonite lining were both given a coat of rubber cement, which was allowed to dry before being pressed together. be aware that the rubber cement will initially let the two surfaces slide around a bit, so be sure to re-check the alignment at each step of assembly - you want tight corners to prevent the watery alginate from escaping
note the rubber cement - this is not just any rubber cement. this is a brand name product that has saved me a lot of money. each time a sole or lining starts to come loose (typically on my sneakers) i carefully pry it back and try to ease it off as far as possible : if the edge of the adhesive is failing, the rest is sure to also give way eventually. don't simply fix the loose perimeter, or the problem will remain in the center of the shoe, beyond your reach
yes, this is pricey stuff. but if you search you can find it - and its thinner - from a single source, each at an amazing price. there is an additional fee for submitting an order totaling less than one hundred dollars, but even with that surcharge and shipping, the cement and thinner were less than the price of the cement elsewhere. check around - this adhesive is considered a 'must-have' in shoe making and repair (the thinner is not as important)
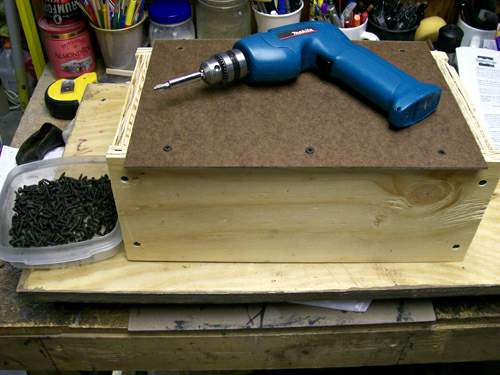
making the mould box - assembly
and, just like that, the box is done ( painfully detailed and long-winded steps and explanations removed for the comfort of visitors )
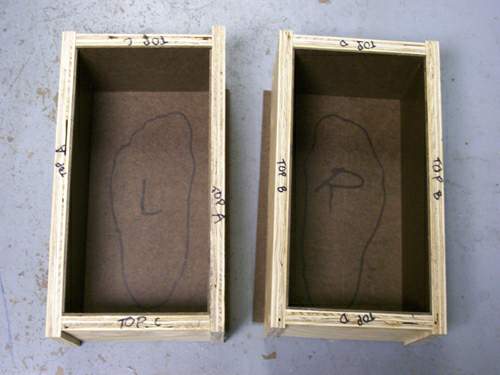
completed mould box
sweet. if there is any question about leakage, i recommend applying a bead of Aleene's Original Tacky Glue to the seams
<commercial> Aleene's dries clear and remains flexible </commercial>
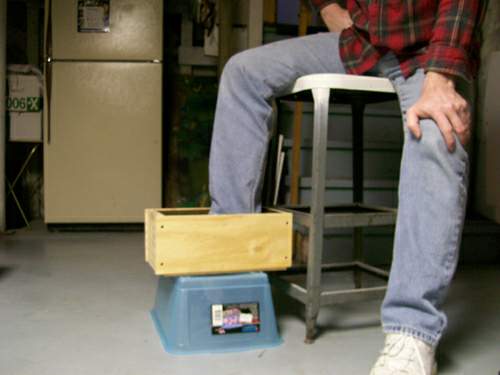
get comfortable
it took a while, but i eventually found a combination of chair and support box that would allow me to relax while the alginate cured
if you're like me, sitting still for ten to fifteen minutes is sheer torture ... there's ... so much ... to do ... must ... escape ...
remember : you need to hold your foot still, about half an inch from the bottom of the mould and centered from side to side, front to back. maybe you can do that standing, or in an uncomfortable sitting position, but not me
safety warnings
this is where we turn our attention to the alginate and get ready to pour. alginate is a very fine powder that can get into your lungs and combine with the moisture and mucous to form a rubber. this is fatal stuff, so follow the safety directions from the manufacturer
for the love of god pay attention. anyone who knows me knows i routinely ignore safety precautions. i've had frostbite twenty-three times ( and counting ), trench foot once, broken more bones ( including my skull - twice, actually ) than an average individual ( but fewer than Evil Knievel ), stand for hours painting over noxious vapors, use a table saw without any safety gear, am a disabled veteran ( my back pain is exquisite and incessant ), fallen from serious heights, have dumped more motorcycles than anyone i know, have had heavy objects fall onto my head ( do you see a pattern here ?), threw a cigarette into a five gallon can of gas ( accidentally, in the dark, in a forest in Germany ), was thrown from a horse, slid down a hillside and lost a considerable amount of skin on my leg, have been mauled by a dog, still run with scissors, caused a car battery to explode and spray acid in my face because i was carelessly smoking next to it, juggling knives as a child i cored my right thumb, have honestly survived more accidents than i care to think about, and am, in general, not afraid to die. never have been. i am not a stupid guy, but for some reason i am RETARDED when it comes to safety. this is one instance when i would not tempt fate - the powder is that fine !
recklessness here is not a chance of something bad happening - it is a guarantee. the powder is very fine and can stay suspended in the air for extended periods. well after pouring i removed my mask and could still smell it in the air - this should be taken very seriously
keep the alginate container closed when not dispensing powder. dispense slowly - you have time
i strongly suggest mopping the floor after dispensing. dispense on the floor, not a counter top. this is because there will almost certainly be some powder in the air, and you want it as close to the floor as possible so it can settle as quickly as possible without landing on multiple surfaces. have a wet mop ready and next to you when you dispense - don't walk around and kick it up !
ok, that's it for my warning. don't bother calling : i'm not driving you to the hospital

water temperature and volume
according to the manufacturer and my personal calculations i had fifty percent more than was needed for the job. obviously there had to be something wrong, and fearing i only had enough to get it right the first time, i decided to make a small test. that test paid off big time
the directions specified a water temperature of eighty degrees Fahrenheit ( gesundheit ) and i complied exactly. cooler water extends working time ( how much time you have for mixing it ) as well as demoulding time ( how long you need to wait before removing your foot ). the ratio is one-to-one by volume, alginate and water
also note that if you have very hard water in your area, you should probably get some distilled water from the grocery store
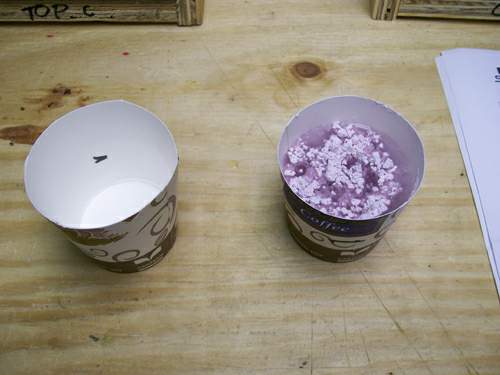
mixing alginate with water
add the water to the alginate slowly, gently moving the downpour around to help start the mixing process. thorough mixing is crucial to getting good results. you can't over mix
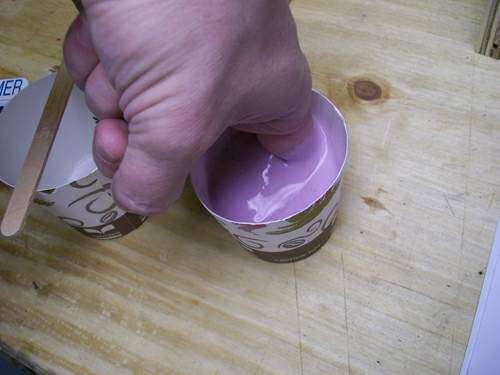
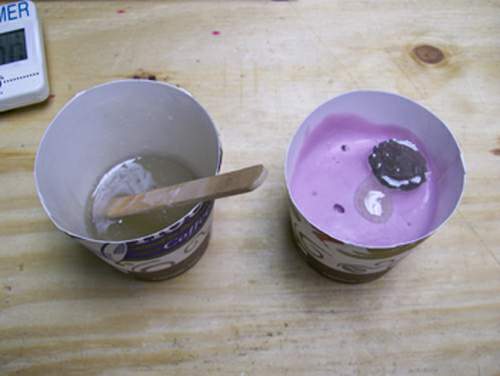
testing alginate
using the recommended amount of water and water temperature caused the alginate to begin to set long before the time indicated in the manufacturer's documentation. knowing this was critical later
there was clearly a problem pushing my finger into the rapidly gelling alginate. the manufacturer recommends pouring the alginate into the mould, at the lowest point, allowing it to surround the object as the level rises. also suggested is applying a thin coat of lotion or vaseline, mainly to reduce difficulty of hair becoming embedded in the alginate. doing that might have helped here
seventy degrees worked much better when i actually poured later, and adding a little more water than called for has the same effect on cure times as using cooler water
test pour with fiberglass resin
unsure if fiberglass resin would be compatible with the alginate ( not everything is ) i mixed a small batch and poured it in
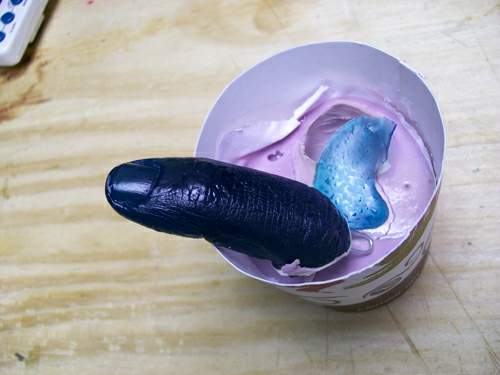
test results
the detail was amazing - far more detail than what is called for in a shoe last
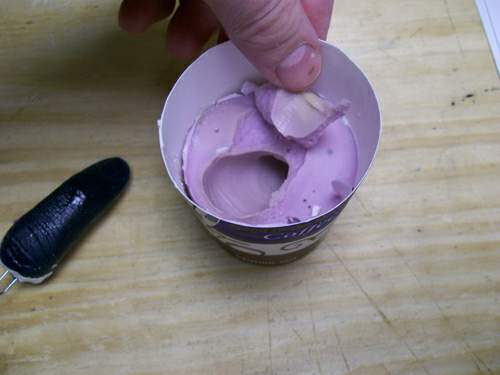
mould condition
the mould looked like it was in good enough condition to be used again, and was later, successfully, with mixing pot scrapings of the same RTV silicone rubber used to cast the last
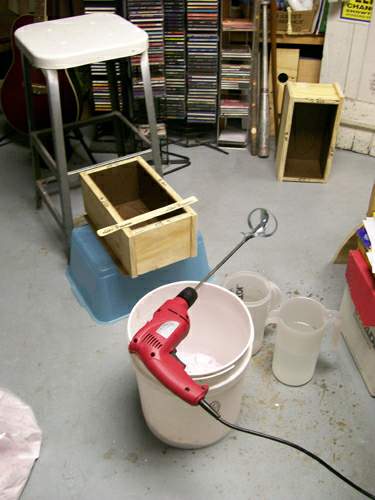
assemble everything needed
get everything in place and prepare to mix and pour
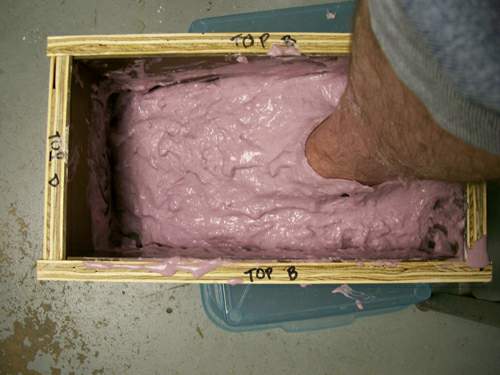
pouring the alginate
the mould box proves to be too big. to make the material reach my ankle i scoop it constantly from the corners and deposit it up, around my ankle, from where it slowly sags back down. while this worked, it was a hassle. my innate suspicions about the corners consuming too much material proved to be true
the increasing rigidity of the mould around the foot is easily detected. after about ten to fifteen minutes ( depending on the water temperature and water volume ) you will be ready to remove your foot. slowly move your knee from side to side, keeping your foot stationary. once the vacuum seal has broken around the ankle, begin to gently flex your foot. the only advice i can offer is to arch your foot to get a bubble of air under your foot. moving your toes around will force that air in and around your toes, making your foot largely free. as i lifted my foot from the mould the patch above my arch tore from the ankle down a few inches. this was perfect as it opened up just enough to release my foot and closed firmly enough when i cast the silicone rubber
casting the last
casting is done by mixing the two silicone components thoroughly and pouring the mixture into the mould. i suggest tipping the mould forward so the heel is above the toes and slowly pour onto the bottom of the mould, just in front of the heel. the RTV rubber will slowly run down into the toes, the level rising as the mould fills. gently set the mould down flat and finish pouring. doing this will help to minimize bubbles. my lasts are full of air bubbles, the RTV having been whipped. i love that look but if you care what others think, do the most professional job you can and avoid bubbles
making the mould was challenging, but casting the last is the easy part - there is really nothing to show
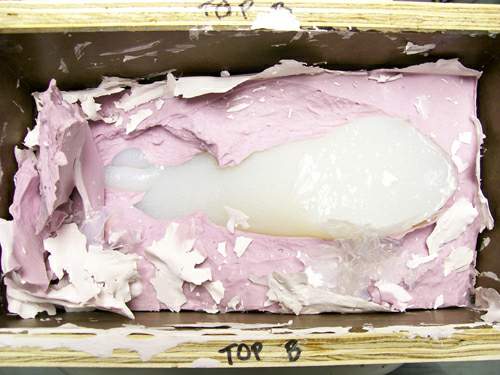
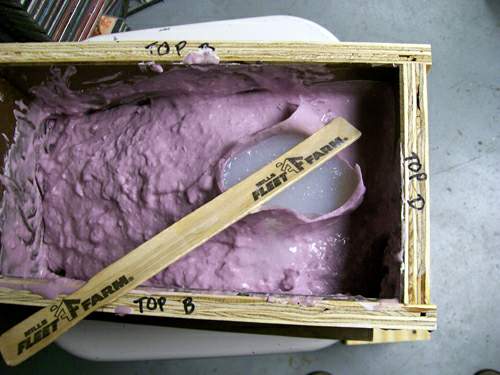
removing cast foot
after twenty-four hours cure time the foot begins to emerge. simply tear the alginate away and lift the last out
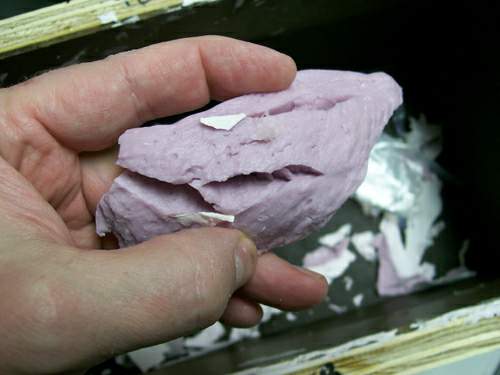
alginate after casting and curing
the alginate is remarkably heavy with moisture, and tears like leprous flesh
mould box modifications
two coffee cans and a pair of tin snips allow me to modify the mould for the other foot
mould box modifications finished
after fastening the tin to the mould the joints are sealed with a bead of Aleene's. when that dries the mould box is ready for the next last
postscript
the base coat painting shown here was the first step in making a fine necklace. this damn thing is nearly impossible to photograph. beside it is the casting of the finger done with the RTV silicone