|
|
Why bother ?
why clean controllers ? fair question. several of mine came, used, from eBay or Amazon sellers and i would never use one without first cleaning it inside and out. some can't be picked up new anywhere, such as my wavebird Gamecube wireless controller, and must be purchased used. another reason would be if soda or coffee were spilled on a controller. cheaper to clean it than replace it, or worse, have your game play affected !
why write this ? my 'new' XBOX controller (no-name, probally from China) gave me fits when i discovered i couldn't get the PAUSE button to work. needing to get to the pause menu i ordered annother controller (Microsoft ; used, not new) and naturally needed to clean it. when i realized i'd started cleaning the controller within a minute of deciding to do so (despite needing to bring together itens from the shop, basement, and upper floor) i knew i had made an unconscious system of it. when i had trouble getting the first ancient screw to turn i put a drop of Goo Gone into the screw's recess and -POP!- out it came. 'who else knows to do that?' i wondered, and because of the two combined realizations decided to make a tutorial for people with no such experience
please note i make no effort to educate about electronics, but rather use terms that a reader can identify with such as 'gasket' ... there's no reason to make things more complicated than they need to be
What you'll need
this is a list of what i always have on hand : soft cotton rags, goo gone, toothbrush, collander, screwdriver(s), digital camera
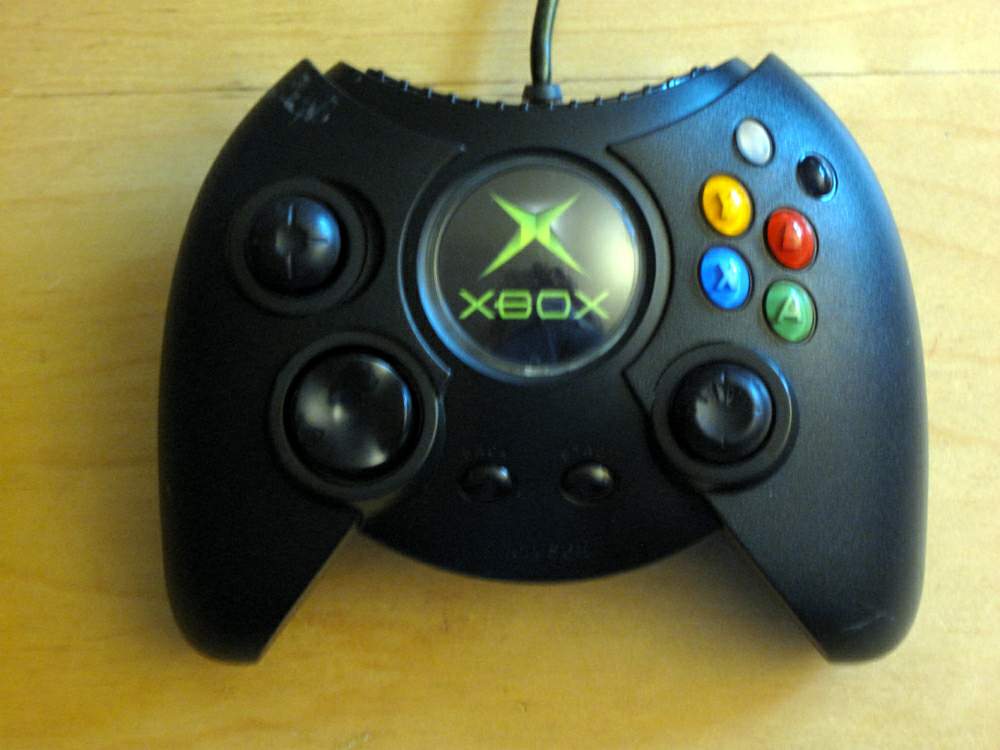
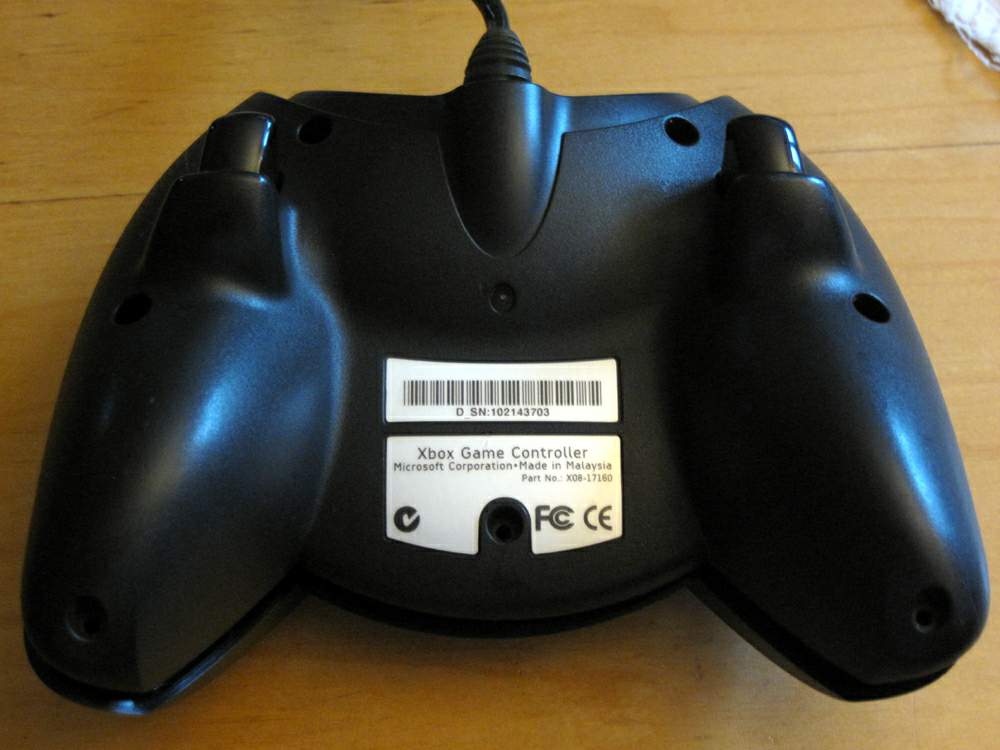
the camera might seem odd, but you'll be glad you took a high-def picture should you be confused later. take a shot from above and one of the bottom, and a few as needed inside the controller. you might not need the reference, but having it will should give you confidence
a collander? yep. go to your local dollar store and buy the smallest plastic collander you can find
Goo Gone. while you're at the dollar store look for a bottle of 'Goo Gone' cleaner. amazing stuff, that, and poisonous (what isn't ?) so keep it out of the reach of chillins
rags. every two years i buy two dozen new white cotton socks. after two years they start to show wear, so after being replaced they get washed, bleached, and washed again, before getting shoved into a rag bag. they are amazingly soft and never seem to scratch anything when used for cleaning. turn them inside out for a nappy cleaning surface that gets into small grooves and crevices
screw drivers appropriately sized for the fasteners (some controllers require other tools, such as TORX or triangular tips). if you can find a magnitizer at a locar store (hardware or automotive supplies), get it. mine came from a local hardware store and cost me just under two dollars. having your screwdrivers magnetized will make life easier - and not just for cleaning game controllers
Opening the controller
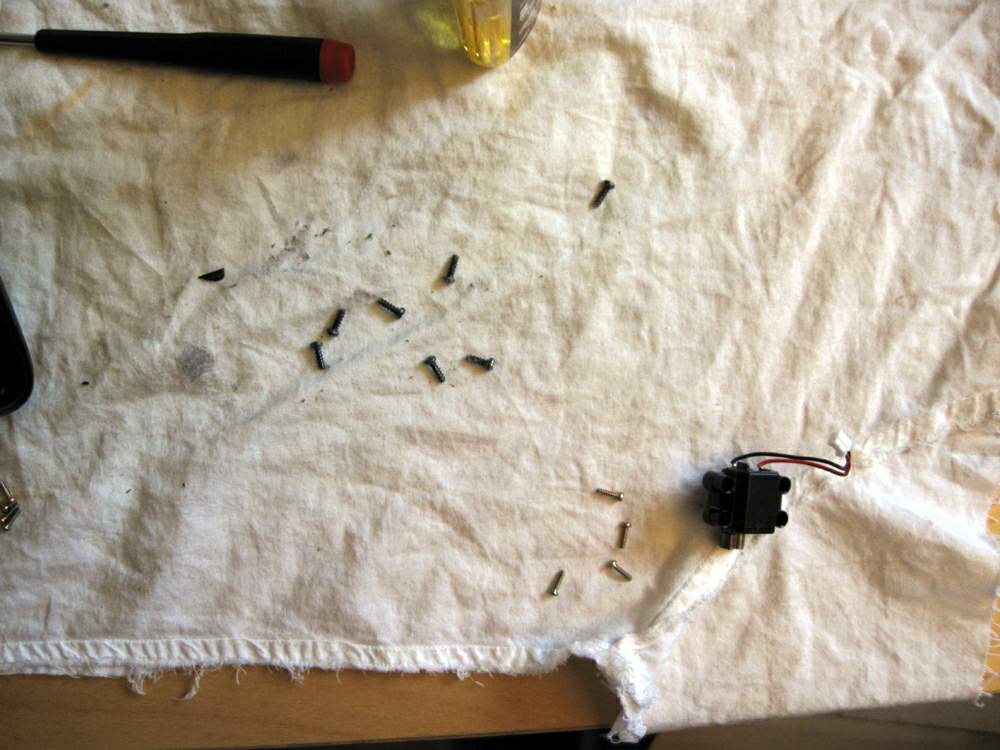
what to be prepared for : parts, parts EVERYWHERE
it never fails. parts go everywhere when i open a controller. but don't worry ; they're easy to get back into place. just be aware of this before you begin. and, you know, you probably don't want to do this over a city street sewer grating ... but seriously, the important parts are all designed to only go in one way - even seemingly identical parts are mechanically 'keyed' to only fit in one exact spot, so don't worry about getting Humpty back together properly (see below)
put a single drop of Goo Gone (using a dropper if you have one, or carelessly spray the bottle like i do) into each screw recess. more than a drop isn't a problem : the Goo Gone will Be Gone in no time (the stuff evaporates fairly quickly)
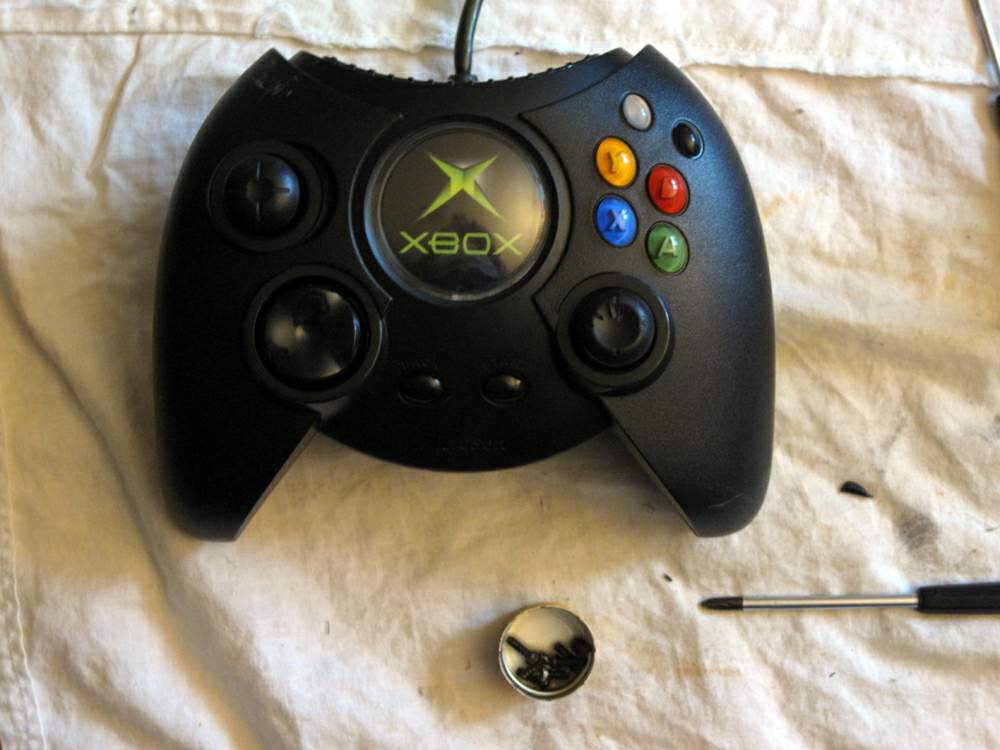
place the screwdriver into the recess and - without applying any pressure - move it around until you are sure the tip is seated fully into the screw head. some controllers have screws that are 'way off kilter', such as the controller in the photos. two of the screws are set at an unexpectedly wild angle, so take your time and get the screwdriver tip seated fully into the head of the fastener
next, get a firm grip on the controller and press down on the screwdriver with as much fore as you feel comfortable applying and, keeping keep both hands atable, SLOWLY turn the screwdriver. this is the most risky part so be sure you do it slowly. one slip and the screw may be permanently ... well, screwed, and you don't want that
after you have removed all the screws try to pry the clamshell halves apart. if you meet with serious resistance scrape a fingernail over each and every sticker - manufacturer's sometimes hide a screw under a lable. god knows why. if you still have trouble re-check all the screw holes to ensure you didn't miss any. still having problems ? check the seam between the two parts for tape, gum, glue residue, etc. still having problems ? ask a mechanically inclined friend to look at it for you, or force it (like i would)
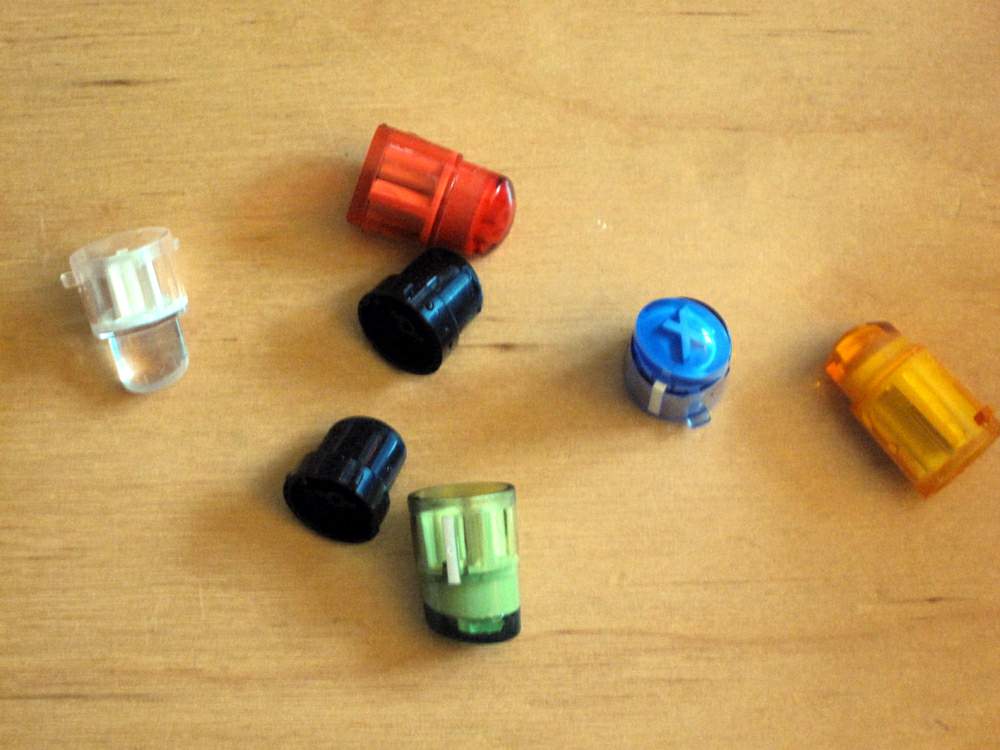
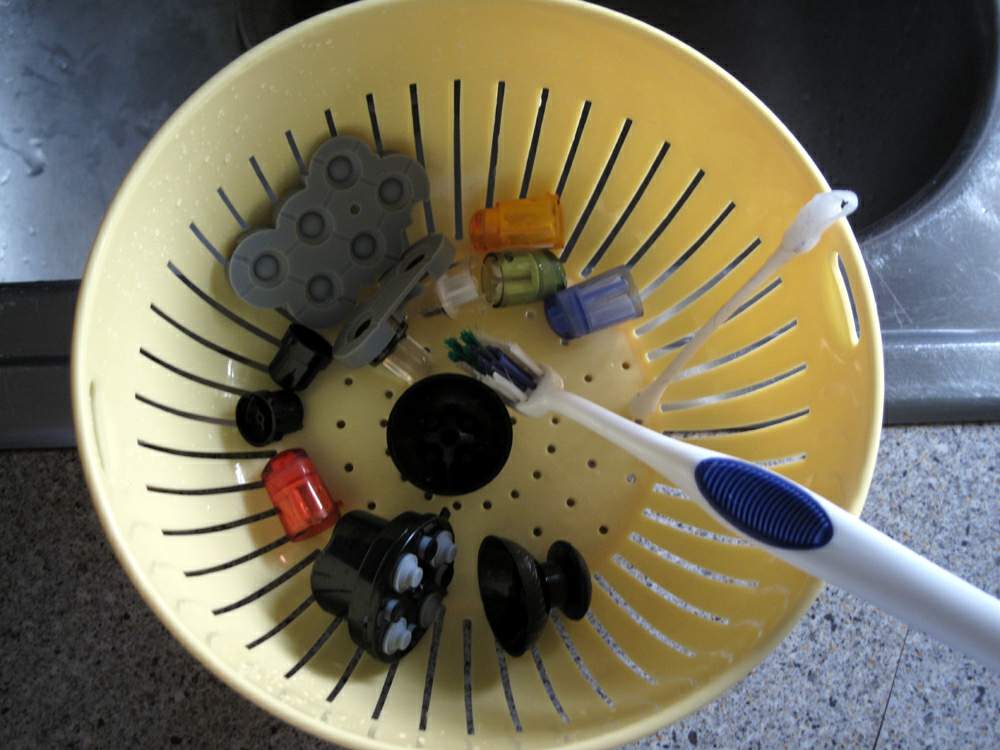
once you have the two shell parts seperated (and have picked up all the colorful buttons from the floor) take a picture of the inside and begin placing all lose plastic parts, and rubber 'gasket' parts (see photo) into the collander
keep the case screws in a small 'pile' off to one side. each group of screws you encounter will be vastly different from all others, depending on where they were positioned, but then again they might not be ... it depends on the controller (and all bets are off for aftermarket, no-name, controllers) so play it safe and keep them grouped seperately
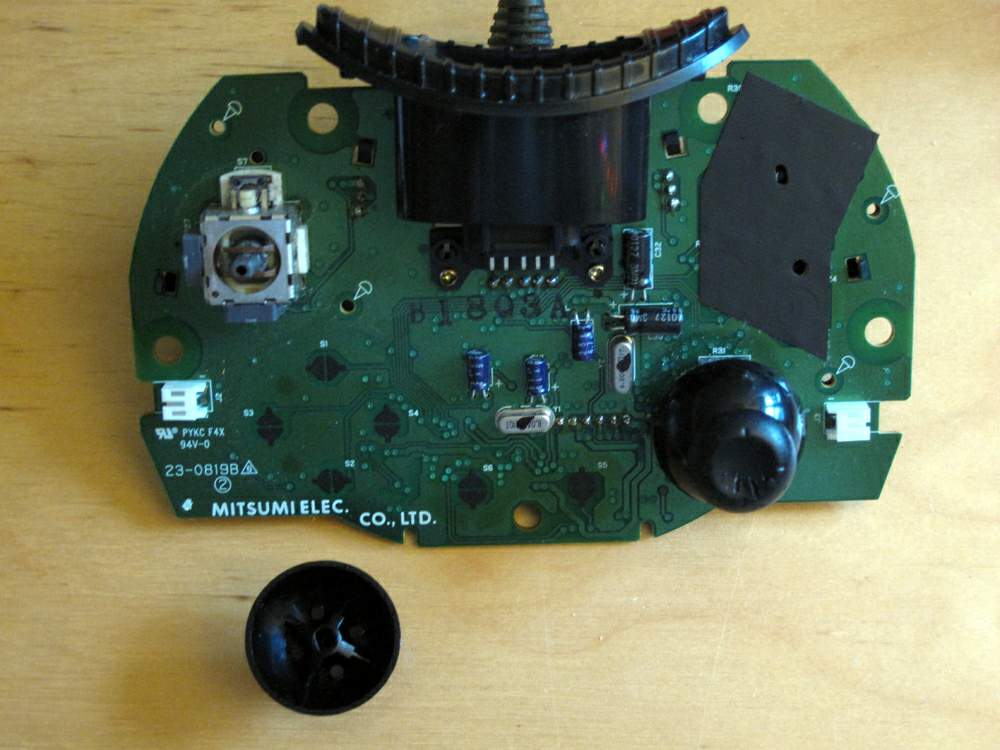
the thumbsticks will come off if you apply a small force upward, away from the PCB - they pull straight up off the potentiometers. this is the only part that can be replaced rotated 180 degrees, or even swapped, so take a good look at them before removing (on Gamecube controllers i recommend swapping them as the one thumbstick cap will come off but the 'C' has no such problem ... just something to consider). some thumbsticks have no special markings, some do. let common sense be your guide here - if you have any trouble removing the thumbstick examine them to see if they are really in need of serious cleaning and proceed accordingly. you might choose to carefully brush them with the toothbrush and wipe them with the corner of a rag dipped in Goo Gone
from this point forward you also want to examine the screws' length to make sure you put them back in the same positions they came from. if there are screws of different length, they are different for a reason. make notes on a piece of paper if necessary, and keep them grouped accordingly as well (photos will help with complicated controllers, but most are really simple)
PCB considerations
examine the half that has the PCB (circuit board) connected to it for plastic parts (like triggers) that need to be cleaned. in some controllers the PCB is in the way of removing trigger switches and haptic feedback motors (as is the case here) and therefore needs to be removed. in any event it is best to remove it to simplify cleaning the controller case halves
using the same technique as before - but with a lot less force - remove the screws holding the PCB to the controller case. keep them in a seperate pile, and note which holes they came from. sometimes there are markings on the PCB's silkscreen printing indicating which screws need to be removed (and therefore their position), and sometimes you need to either mark it yourself or make a mental note (or take a reference photo ?)
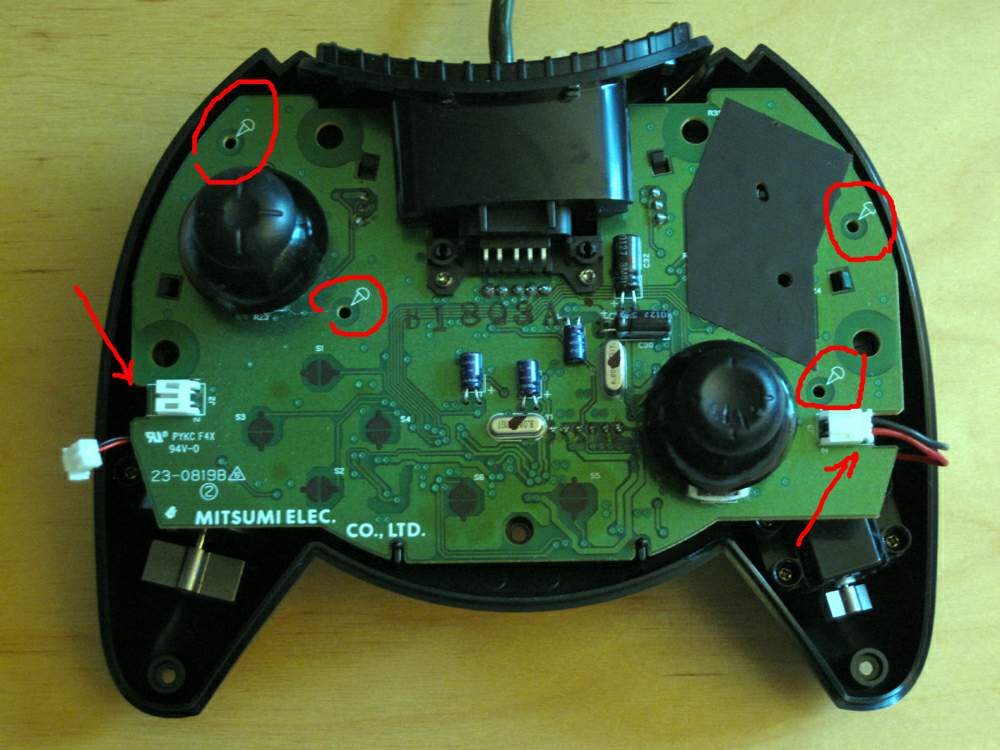
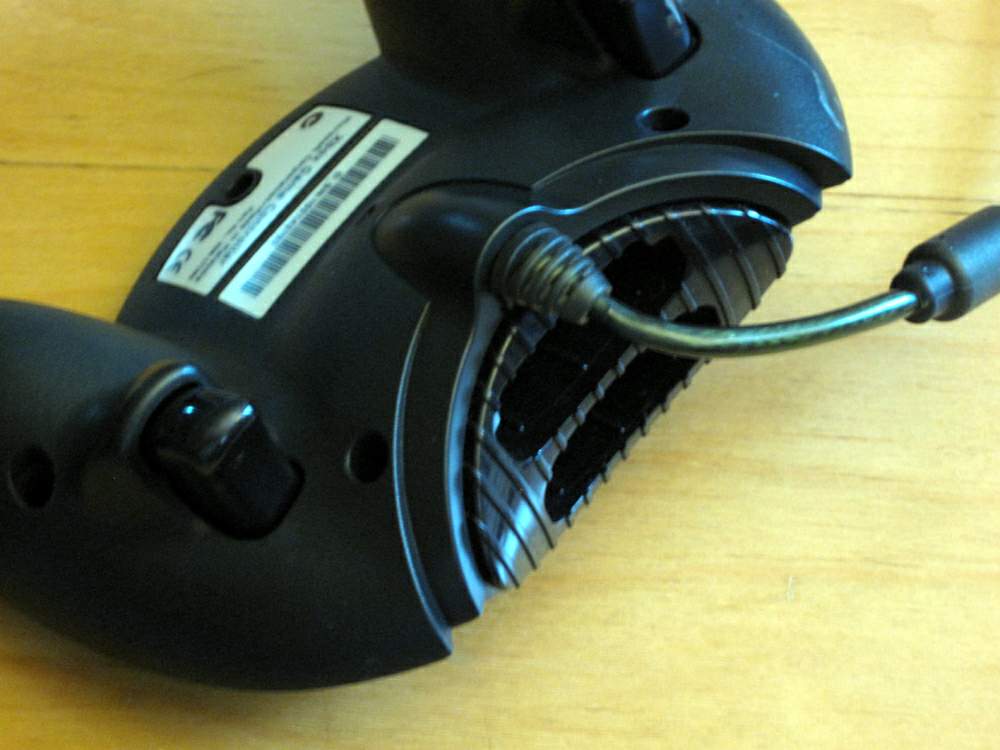
use care when removing the PCB from the case, and set it aside. there may be short cables that tether the PCB to the case (see above) or they may be independent from the case. depending on how long the wires are you may choose to leave the PCB connected. that decision will be very important in the next, 'Hot Water', section. if connectors need to be removed, simply use care and minimal force : very gently jiggle the connector ever so slightly to see how easy it is to remove. if you don't feel comfortable leave it alone or ask an experieced friend to do it for you. remember that the goal is to clean, not break, the controller. do what you think is best, and err on the side of caution (in the photo one such connector is shown disconnected, another connected)
if you need/decide to leave the PCB connected you might consider wraping it with cling wrap ('cling film' in England), and don't be concerned with ESD - i've handled dozens with no trouble. future 'next-gen' console controllers may be more susceptible to static discharge, but current and past controllers are not. when rinsing this in hot water later, remember to slow the water to a trickle and clean it slowly and deliberately to minimize any chance of getting water on the PCB
there may be small motors to provide the 'rumble' of haptic feedback. these are easily removed as well. do not wash these (this controller happens to have them, and they can be seen beneath the PCB at the bottom edge of the controller)
Hot Water
place the collander under very hot running water, swirling the parts around to ensure total coverage. you can let them sit for a minute and repeate the process if you wish. brush each part with the toothbrush and return it to the collander. rinse with hot water once more, then dump the parts onto a clean cotton rag to dry
now put each clamshell half under the hot running water, brushing every surface with the toothbrush. pay close attention to the seam along each half, where they meet, as that is a common area of filthy residue. if the switch recesses seem to need additional cleaning simply rub a cotton swab (q-tip) inside each orifice and rinse again, making sure to leave no trace of cotton fibers behind
this is the most important part, so be sure to inspect the parts carefully before setting them aside to dry, and consider checking them after they have dried - you don't want to repeat all these steps because you were in a hurry and missed something
Reassembly
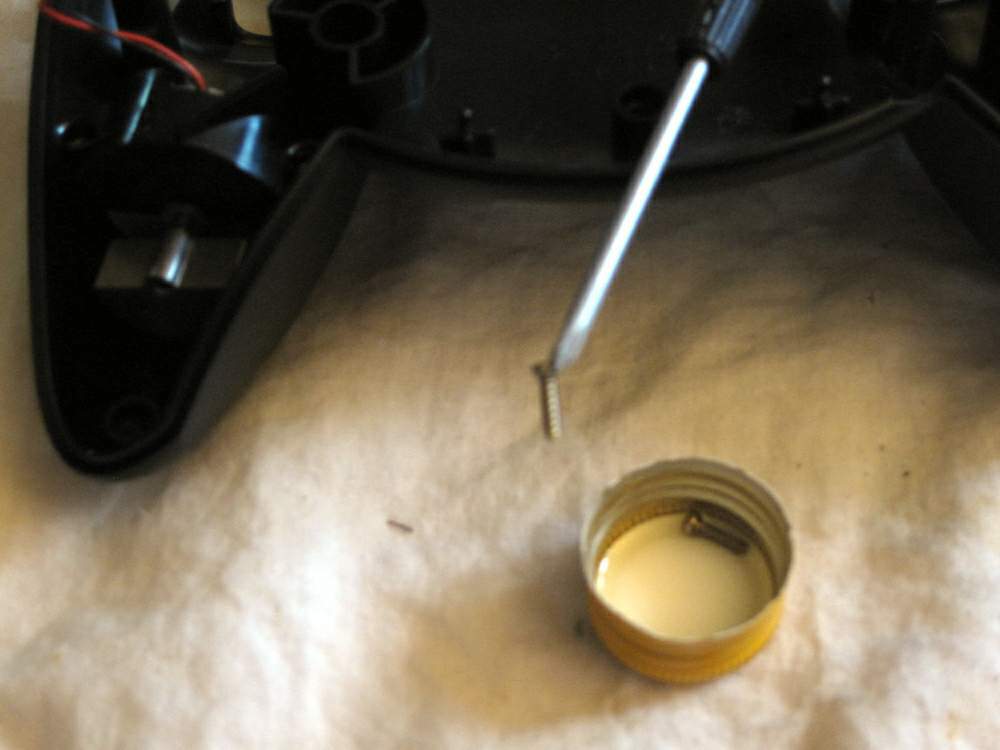
find a small cap (like on a water bottle) and put some Goo Gone into it. you won't need much, so use as small a cap as you can find to avoid wasting the cleaner. this is where magnetized screwdrivers comes in handy : removing each screw from the cap. put each group of screws into the cap as you go ... when you replace the PCB put those screws into the cap, getting them coated with Goo Gone before installing them, then submerge the screws for the haptic feedback motors and install them, etc.
replace the PCB onto the case, gently ensuring that cables and any other mechanical parts that comes into contact with the plastic shell are fit correctly before replacing the screws (the cable, if it is not wireless, is the main source of trouble). the controller halves will not fit together if there is there is any mechanical interference, and this is where trouble often arises, so take your time and carefully inspect the PCB placement, not tightening any one screw until all are in place (just start them at first, but don't tighten them down until all are in place and the PCB is clearly in its correct position)
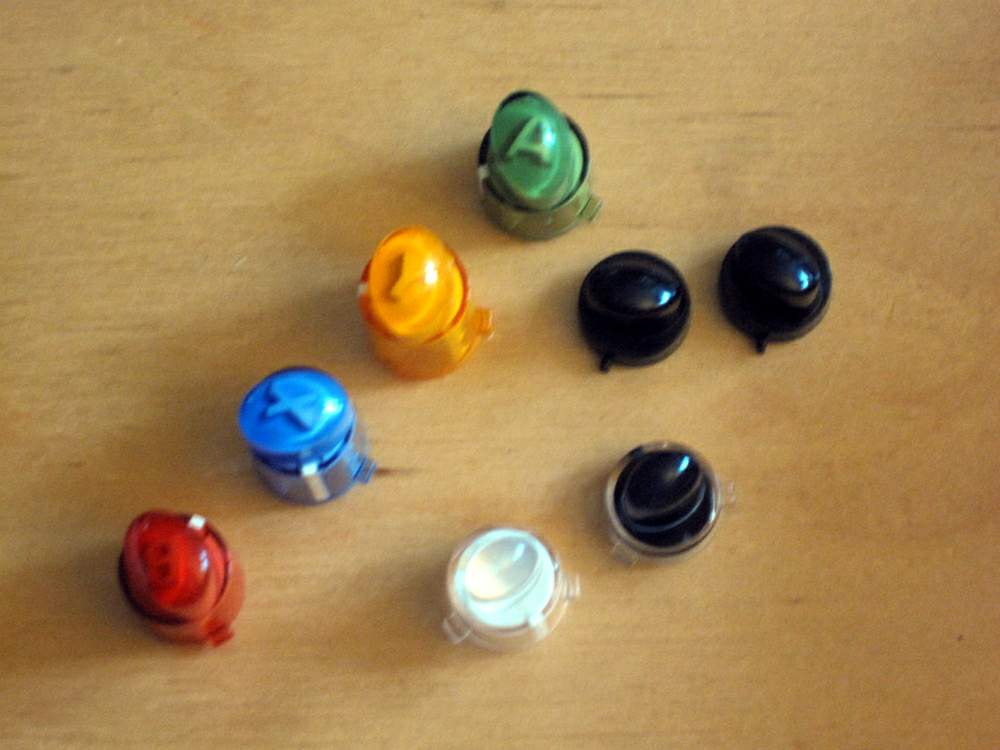
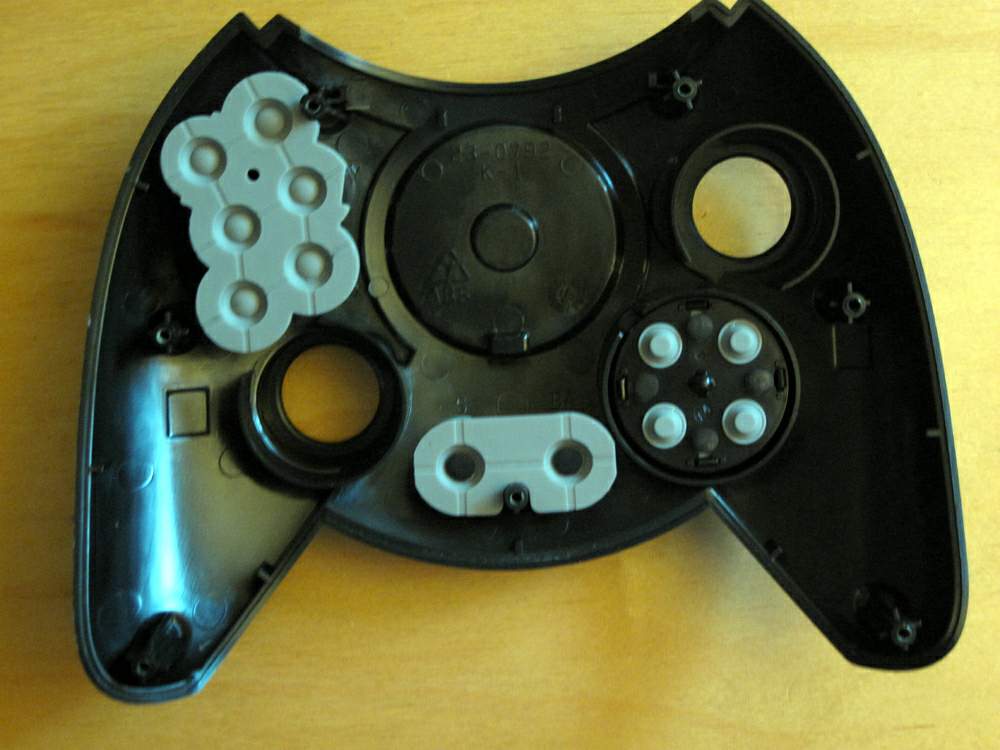
placing each of the switch caps into the correct spot is made easy by the 'keyed' base of each button. take your time and get each into its place
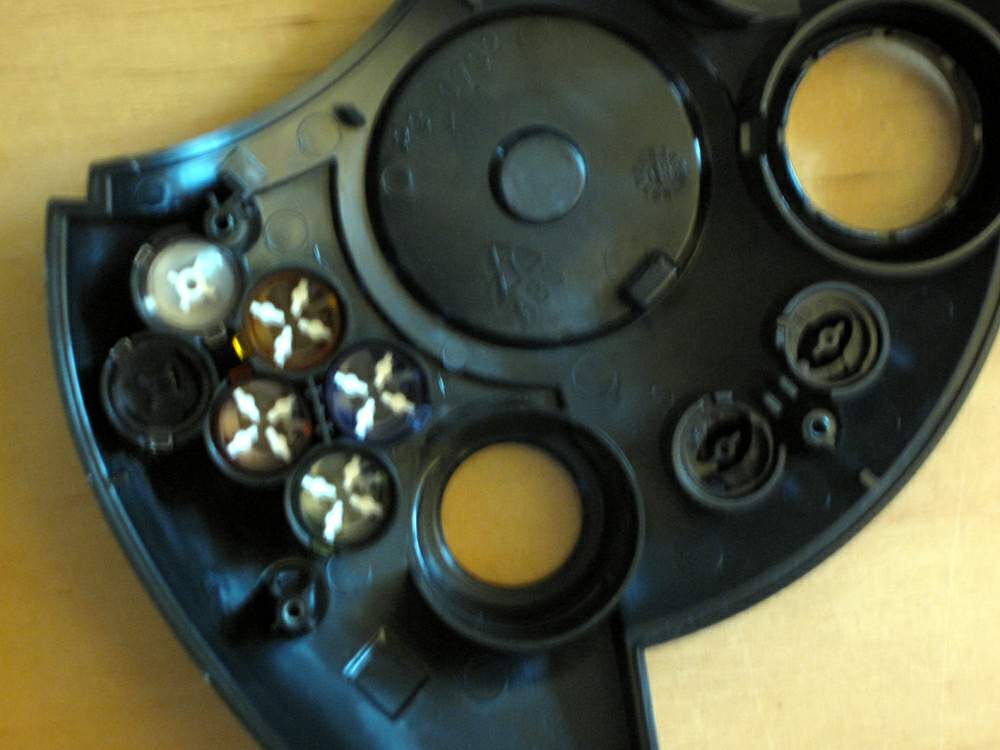
next replace the rubber parts over the various switch caps (see photos) and double check that all the parts and internal screws have been replaced (like the keyed switch caps the rubber parts are designed to only fit one way)
NOTE : the upper piece LOOKS UPSIDE-DOWN ! this is true because it is very non-standard. the vast majority will have black 'dots' on one side, and you must ensure those black dots (as seen on the lower rubber piece) come in contact with the PCB (when the controller case is closed) or the switches will not work. this controller is the only one i've ever seen, and it is just SUPER-MEGA-WEIRD !
the trickiest part may be the re-assembly of the two halves : the switch caps and rubber pieces fall out easily, so take your time and generally assemble the controller upside-down. start with the top shell half on the bottom, inverted, lowering the bottom half onto it (as shown in photo) then snap the two halves together, being careful to not pinch the cord between them (again, if it is not a wireless controller)
put the case screws into the bottle cap of cleaning fluid to ease their reinsertion and gently start them each back in, only fully tightening them when all are back in place. constantly check the fit of the case as you go. if the case snaps together you might not need to worry about it all comting apart, but i'd hold them securely together no matter what
Fin
after final assembly you might want to wait to ensure the controller has no excess moisture left (if you allowed the parts to dry this should not be a problem) or you might want to plug it in and take it for a spin
congratulations !
now whatever you do, don't RAGE QUIT - you've got too much invested in this thing now