|
|
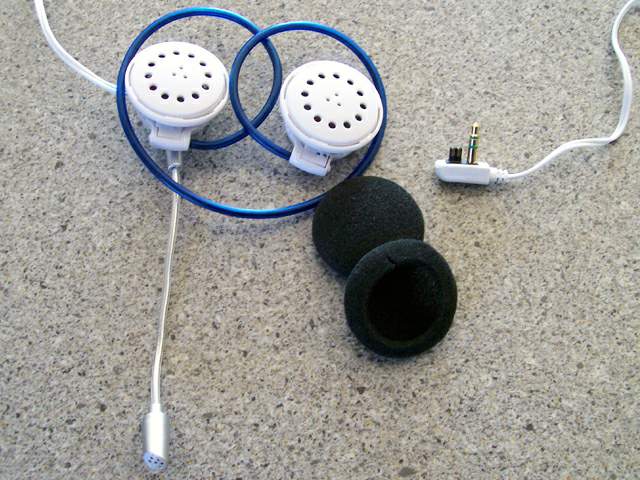
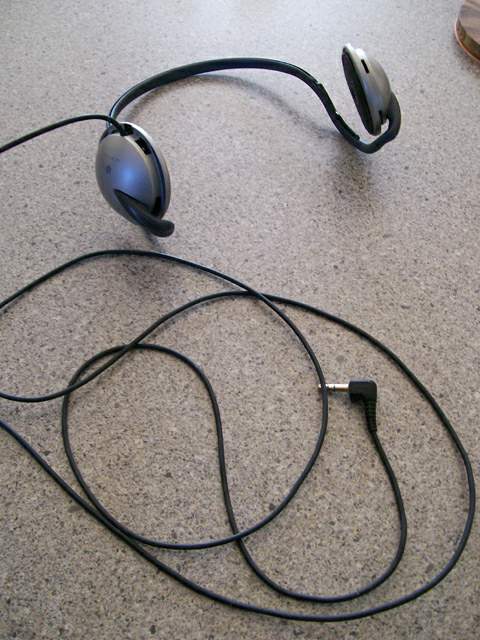
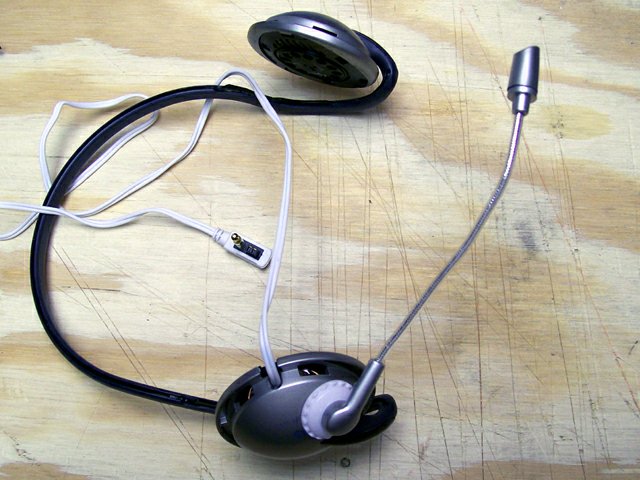
close-up of the problem - a.k.a. the ''before'' photo
the problem is that this cheap headphones has a Nintendo DS plug (accommodating a microphone), but is otherwise unworkable. having an old pair of comfortable headphones available (after more than a decade or use) i decided to combine the best of both. basically this involves moving the cord and microphone to the old headphones.
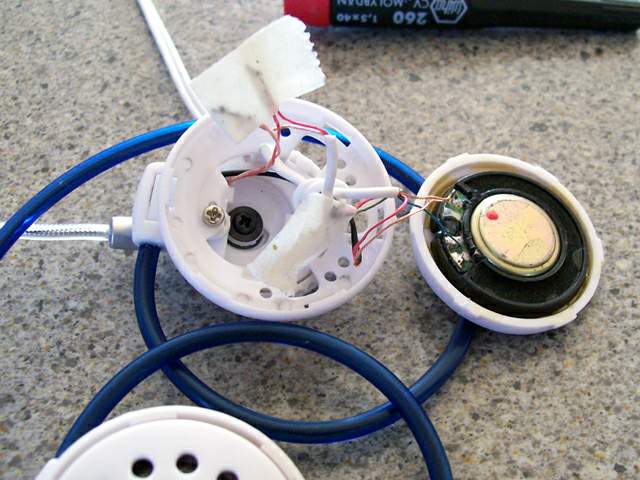
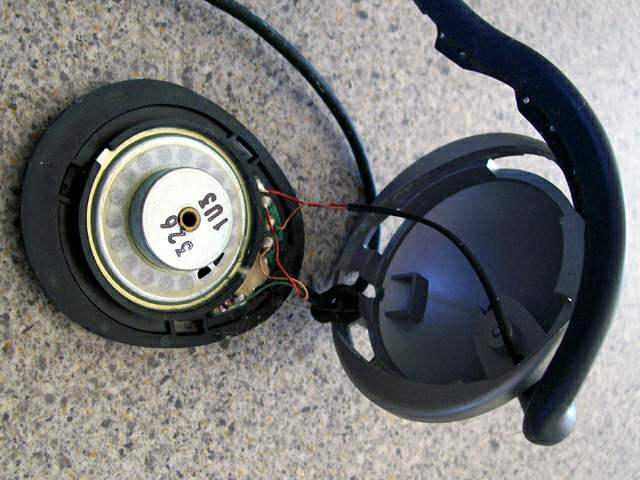
opening the first earpiece
carefully opening one earpiece, ensuring minimal damage to the other when it is opened.
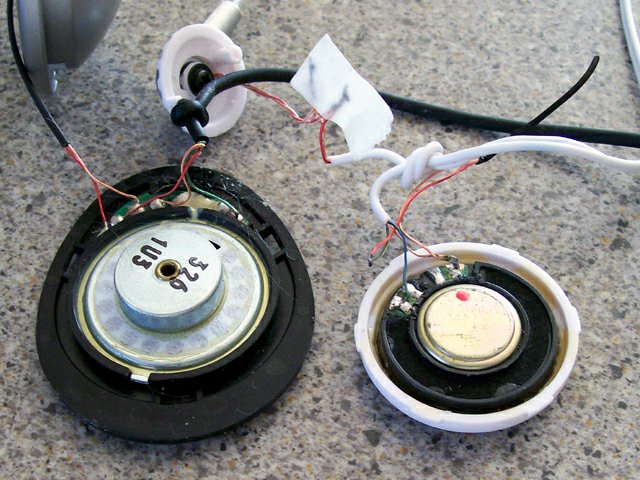
both earpieces open
after removing the speakers and microphone the remainder of these headphones is removed.
comfortable and rugged old headphones
if only these durable, comfortable headphones were still being made. even after the foam earpiece covers disintegrated they are preferable to any of the newer models i've since purchased. no pinouts were available on the 'net for the Nintendo DS plug, nor could i find a source for an analog of plug itself.
opening the first earpiece
second verse : same as the first.
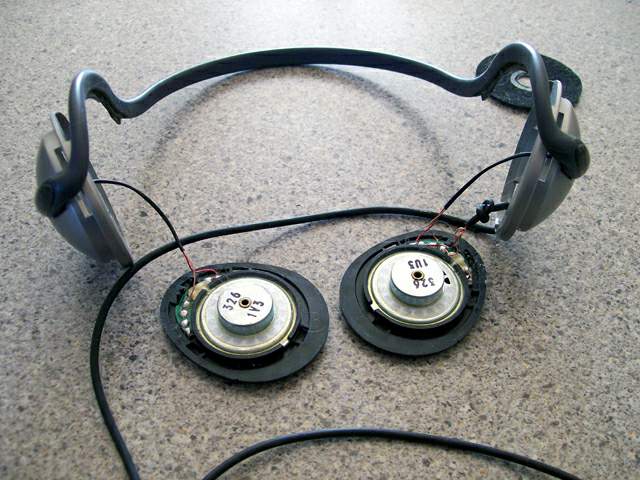
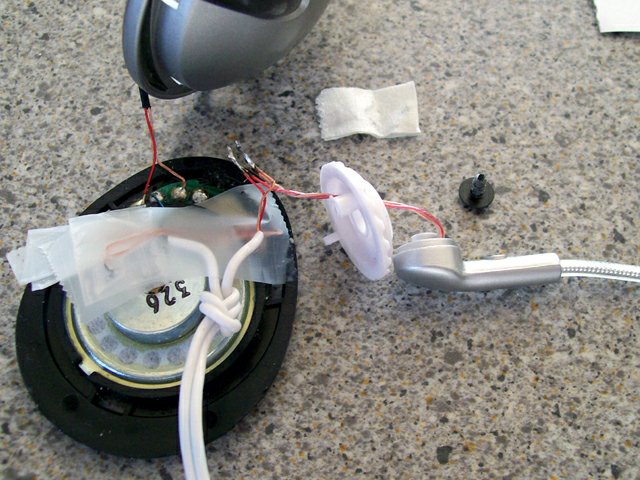
old headphones ready for new cord
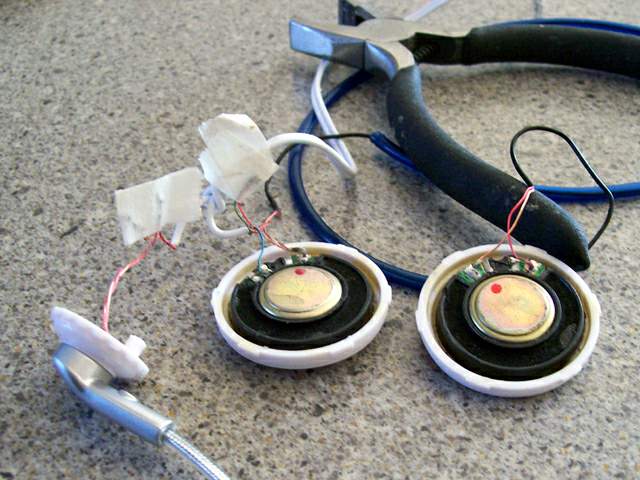
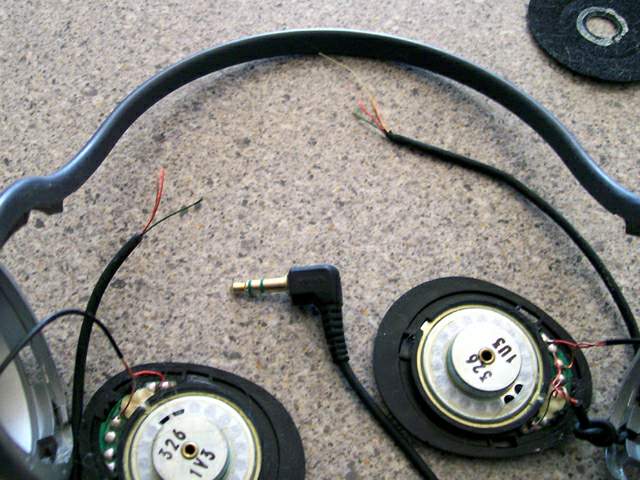
after getting the earpieces open i made careful notes of the many soldering pads, using my multimeter to ferret out the connections.
old headphones ready for new cord
also took note of the color of the wires from the old cord, soon to be replaced by the new.
in the upper right corner is the sole remaining felt pad that once lay beneath the foam earpiece cover. for comfort i'll be making and applying two new pads.
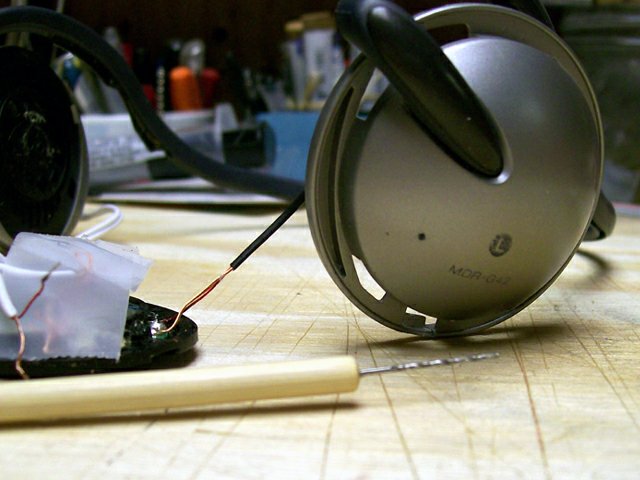
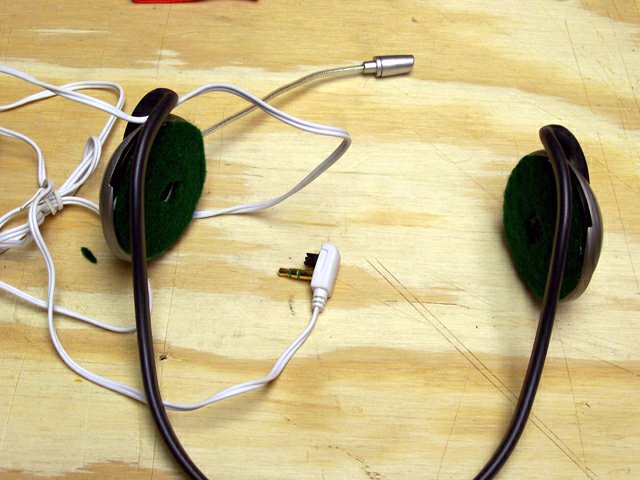
moving new cord to old phones
what needs to be said ? double checked my notes and moved the wires over. plugged the headphones into an iPod and verified stereo functioning.
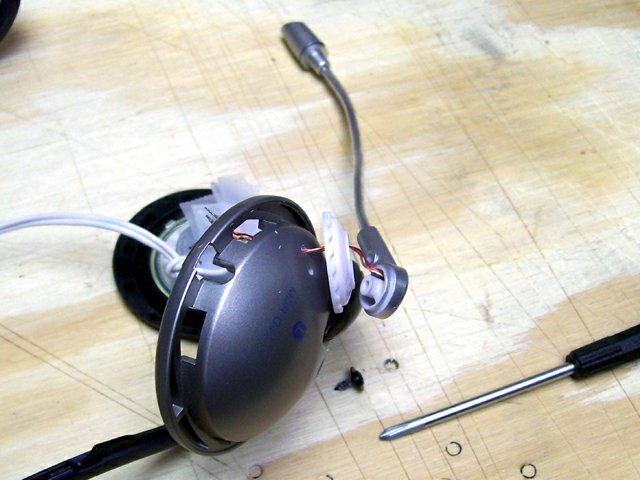
removing the microphone
removed the masking tape insulation from the microphone wires and disconnected it from the headphones. these wires will need to pass through the headphone housing, which means a hole needs to be drilled for them, and a second for the screw which holds the mic boom in place.
drilling tiny holes
the many sub-atomic drill bits from my pinhole camera work came in handy in making tiny pilot holes in the earpiece housing.
connecting the mic boom to the housing
after passing the microphone wires through the new hole and reconnecting them, it was time to work on the physical mounting of the mic boom.
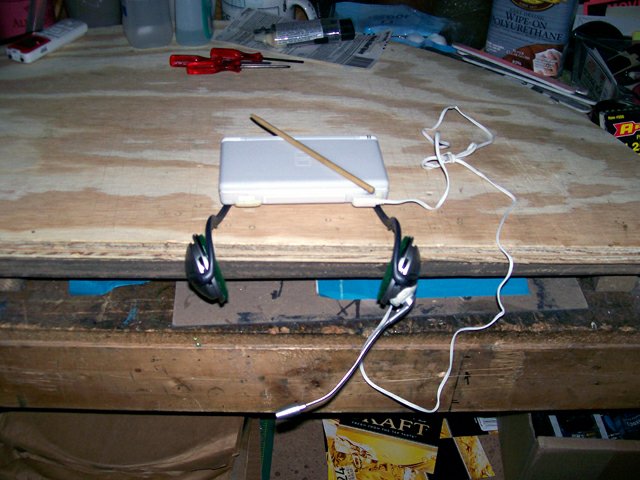
microphone connected, physical test
time to try on the headphones and verify the physical orientation of the boom (moving it up out of the way and down, full range of travel).
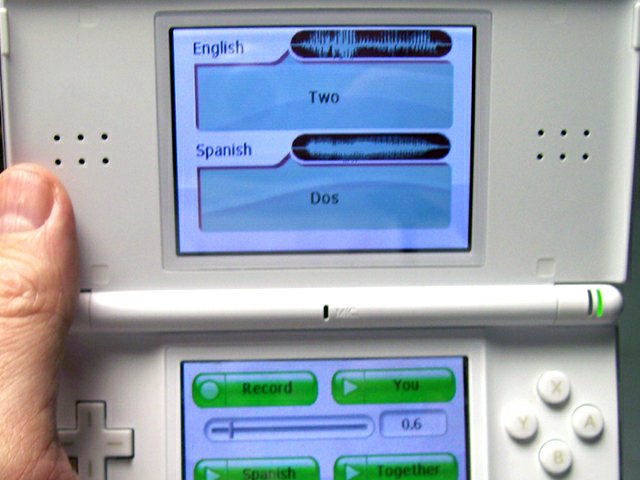
testing the microphone
nothing worse than putting something together prematurely. failed to say 'dos' but the playback matched what i recorded.
mechanical reinforcement
the base of the boom needed to be secured, as far as i was concerned. a small amount of modeling epoxy did the trick.
strain relief
there was no rubber piece to provide strain relief so i used the remainder of the already prepared epoxy to do the job.
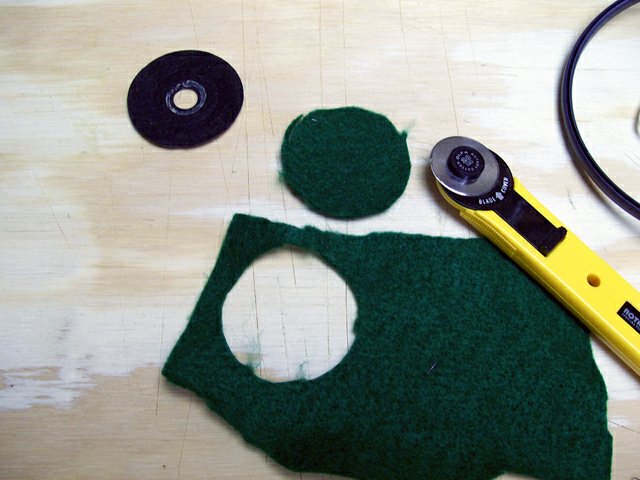
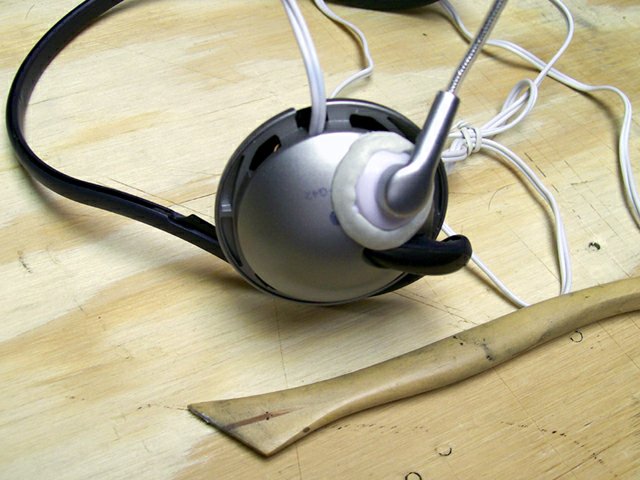
ear padding
when the foam rubber padding began to disintegrate i searched the web for a replacement (phones or pads). nada. now is the time to make a replacement, trim them and glue them in place (following the glue pattern on the original 'template').
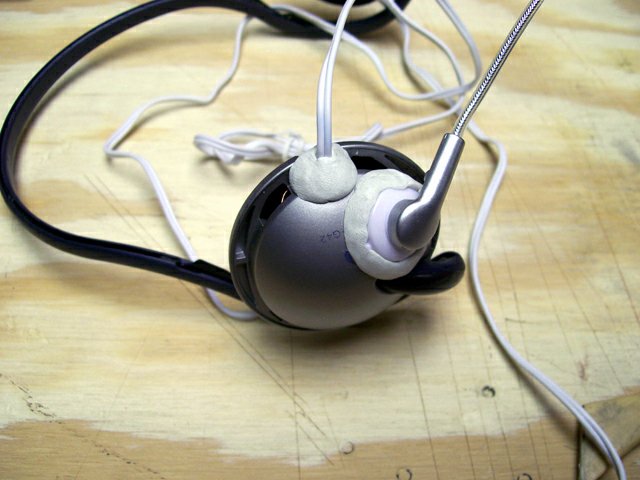
almost done
letting the padding's adhesive set a bit before securing it 'in position' for curing the epoxy.
setup overnight to allow the epoxy to fully cure
my workplace always looks so messy in photos, but not so bad in person ...
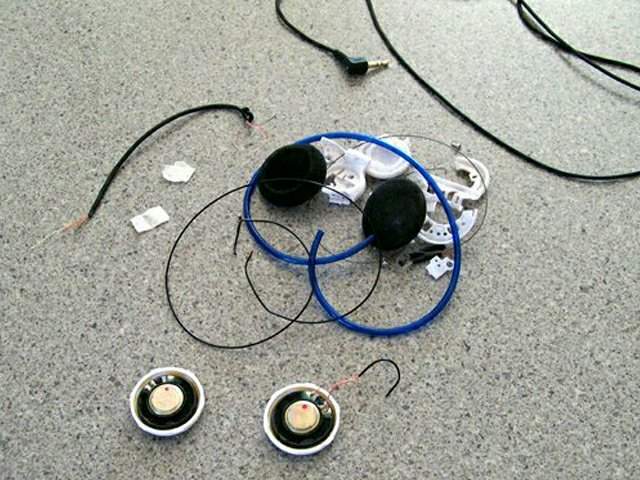
the hardest part of all
with any pile of 'parts' my impulse is to toss reusable stuff in a box. problem : my shop overflows with the flotsam and jetsam spanning decades of pack rattery. the speakers, despite having a dozen already, will be kept but the rest needs to be tossed. seriously, i am going to throw it all out. i mean it this time.