
|
|
|
disc background information
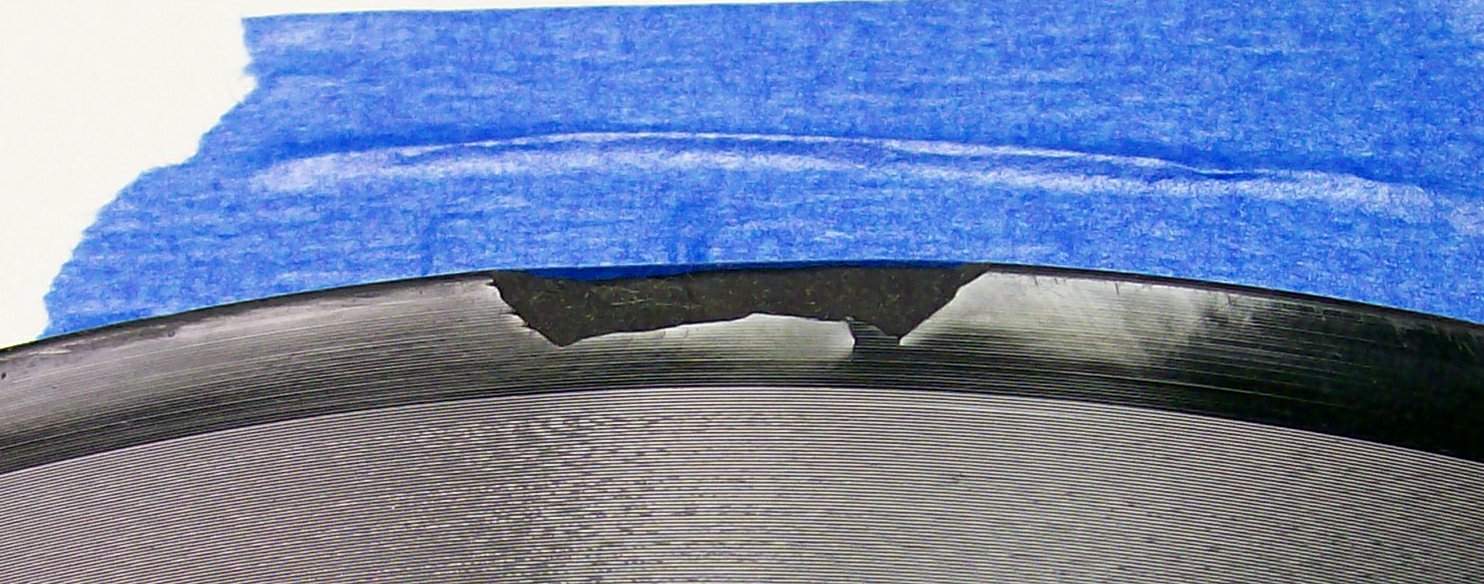
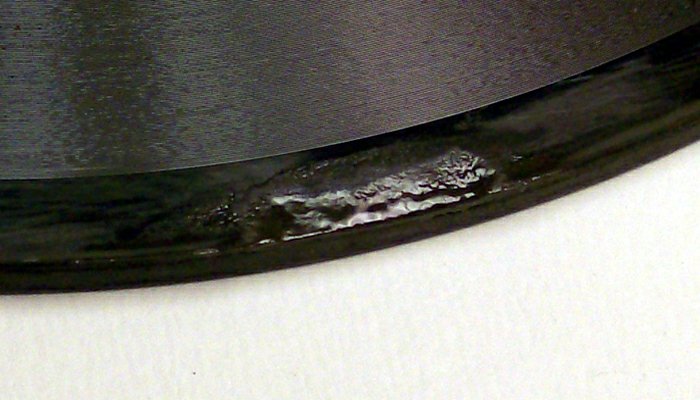
above is a close-up of the problem - the venerable ''before'' photo.
the problem is chipping in the outer rim of old Edison discs. people accustomed to old-fashioned vinyl LP turntables are usually in the habit of positioning the needle in the empty band outside the recorded area. chipping in this area obviously poses a problem as repairing a reproducer can be expensive, and no one wants to damage their discs or equipment.
many discs, but not all, have several revolutions of dead space prior to the start of the recording. the Edison Diamond Disc players also sport a simple system of controlling reproducer head movement independent of the groove, as on the earlier cylinder players - the diamond point floats within that controlled band of movement, following the track as the disc revolves. once those of us who grew up with vinyl LPs can change our habit and begin placing the needle at the start of the recording, everything is fine. sort of.
undertaking this repair is more of a preventative measure against a visitor (or my wife) who does not know about all the fine points of operation, as well as possibly slowing further deterioration of the disc. of course, some of us are just plain-old perfectionists.
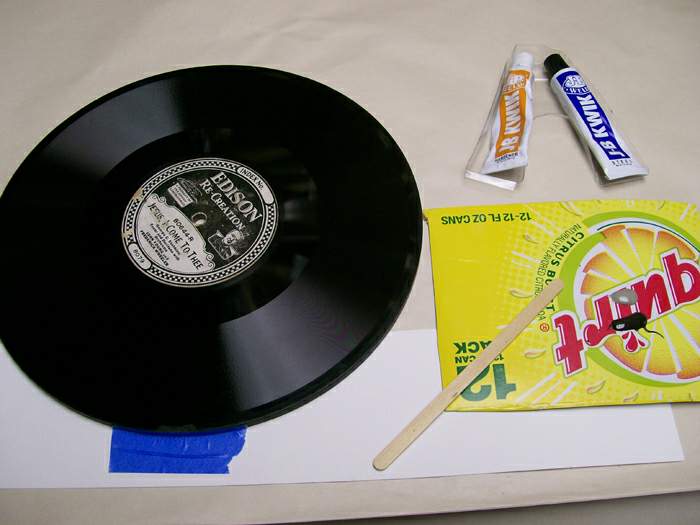
setting up to repair the disc
the choice of J-B Kwik Weld was reflexive, but might not be my first choice in the future. the dark color is great for masking the fact that a repair has been done, but the self-leveling was too slow relative to the rapid set-up time. next time i'll use the regular J-B Weld (rather than the 'Kwik') as it served as a great base for the repairs, and is generally a favorite of mine.
cutting up old soda cartons provides me with a sea of materials for working on : temporary paint palettes, mixing epoxies on, etc. the craft mixing sticks are narrower, wasting less material and thoroughly mixing more easily, in my experience, than recycled popsicle sticks.
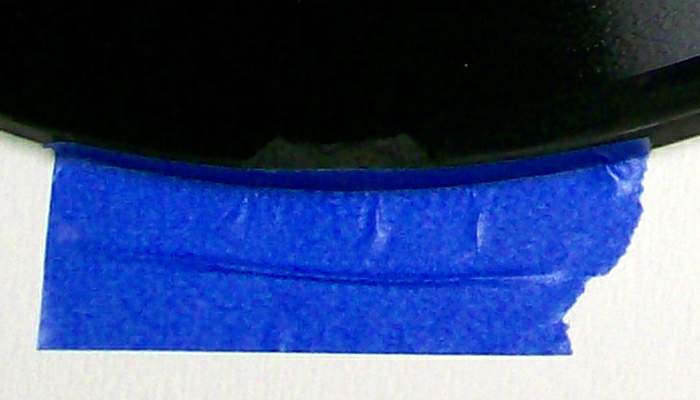
close-up of taped edge
the photo above shows the easy release tape in position, with the top edge flush with the record's top surface.
the top edge of the tape was a sturdy enough surface to 'scrape-off' filler from the mixing stick, which made applying materials relatively easy.
this is a newer, easier release 3-M masking tape for painting - easier to remove than the original version, doing less damage to previously painted surfaces when trying to mask in preparation for painting an adjoining area.
the tape will be removed before the added materials are fully set, but can easily be sanded off should that prove impossible.
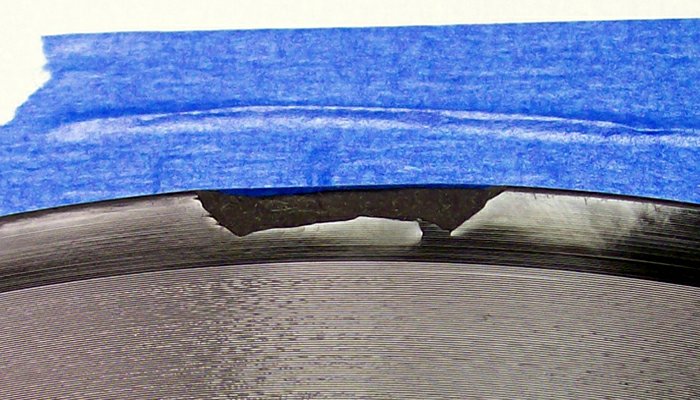
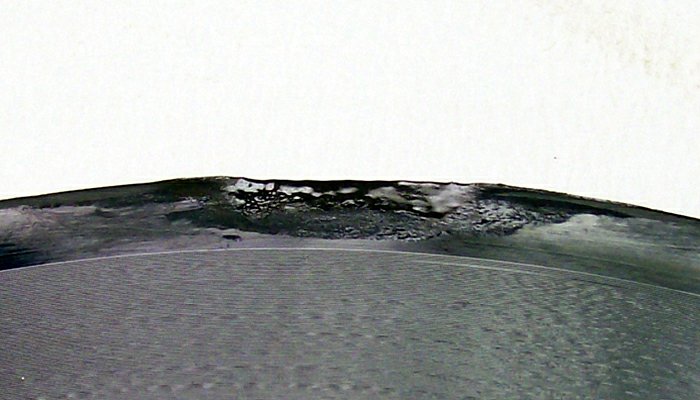
close-up of damaged edge
some removal of proud edges rising up from the damaged area, above the top surface of the disc, may be required. simply pulling or prying these pieces may cause splintering, exacerbating the damage rather than ameliorating it.
filing with an extra-fine nail file is recommended to avoid splintering the fragile materials. 600 grit wet/dry sandpaper would work as well, but i've become a tool of the nail file industry because of the ease of positioning and fine control not available with sandpaper.
damaged edge after filling with epoxy
the goal was to have a smooth, slightly proud surface, as it is preferable to remove material rather than needing to add more.
as mentioned above, the J-B Kwik Weld's set time was too brief. neither manual smoothing or self-leveling could be accomplished prior to the material setting-up.
damaged edge after smoothing epoxy
after smoothing the epoxy it was painfully obvious that additional materials would be required. using the same piece of masking tape - just the other edge of it - the disc was ready in seconds.
rather than using J-B Weld (regular, not Kwik) i decided to use up some old clear epoxy ... the shelf life must be approaching and i avoid wasting materials whenever possible. besides, my reasoning went, if there was a problem with regular (clear) epoxy, removing it would be less problematic with a substratum of known good epoxy. additionally, knowing about any problems sooner, rather than later, is always desirable.
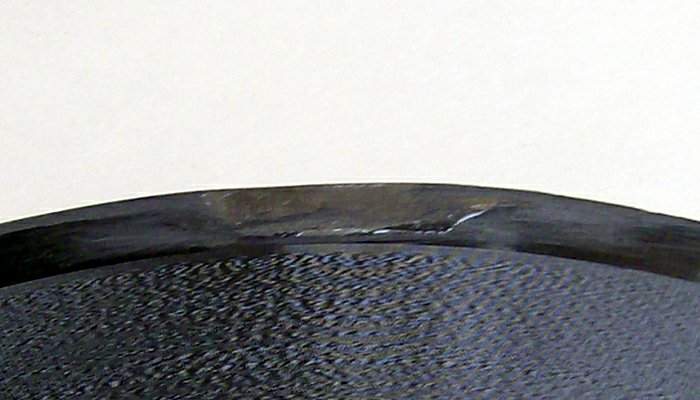
damaged edge after addition of clear epoxy
this is the repaired edge after adding clear epoxy but before the smoothing was complete.
after starting the process of smoothing the clear epoxy i remembered the need for a picture. that didn't happen upon completion, however. removing the disc from my hot box (105F) was the end of the exercise, and adrenalin was starting to be released (or was it the endorphin rush of having completed another project ?).
the combination of fine and extra-fine nail file worked like a dream, and an after photo would have been pointless, i suppose. the edge looks about as good as it would have new, except for the lack of luster at that spot, and a shot of clear spray lacquer would likely do the trick.
|
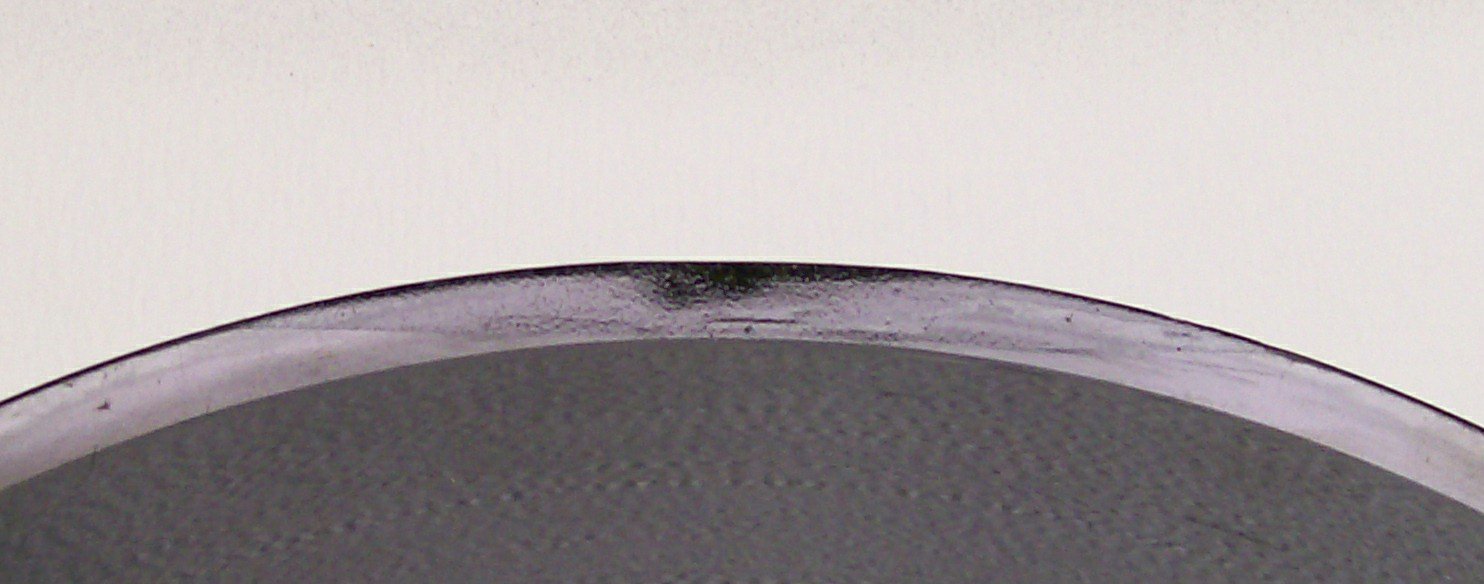
after photo
see ? told ya : unthinking perfectionist nutcase. the after photo of clear epoxy wasn't a happening deal, so i got out the enamel appliance spray paint and dusted the edge. after it has a chance to dry completely the surface will get a final polishing buffing sanding - whatever it takes to make it look completely finished.
ta-dah !
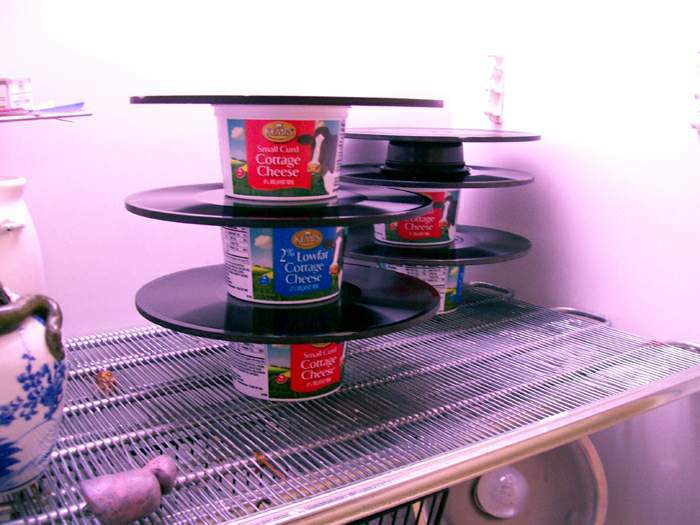
hotbox bulk text epoxy
stackin' 'em up in the hotbox to cure the epoxy. ~106F or ~126F - no preference to report