
|
|
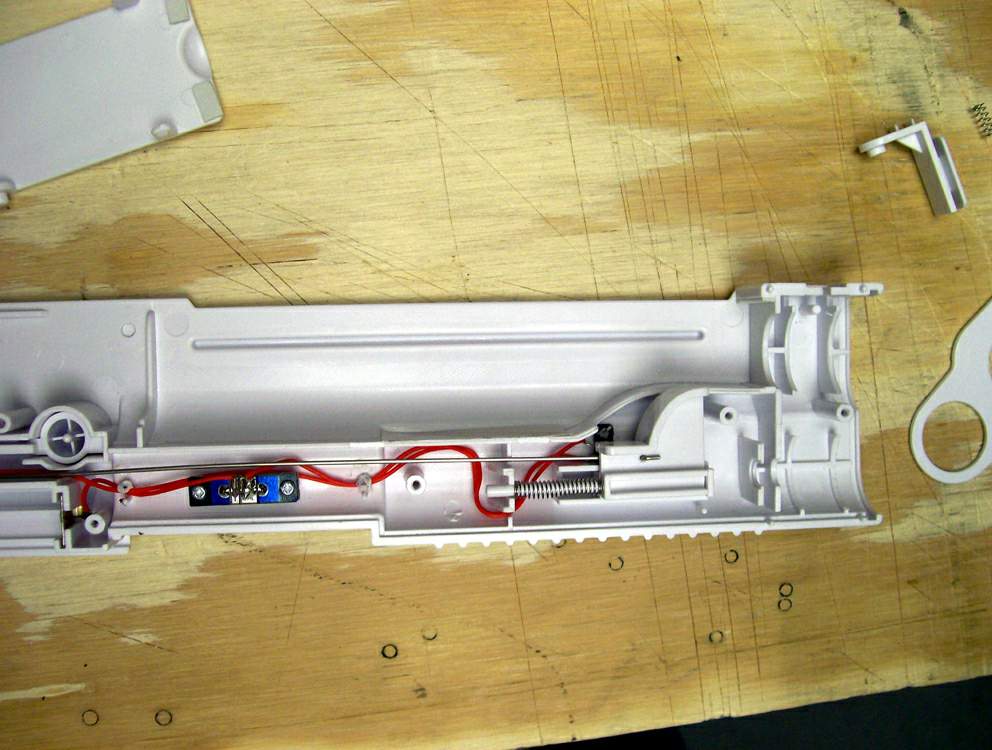
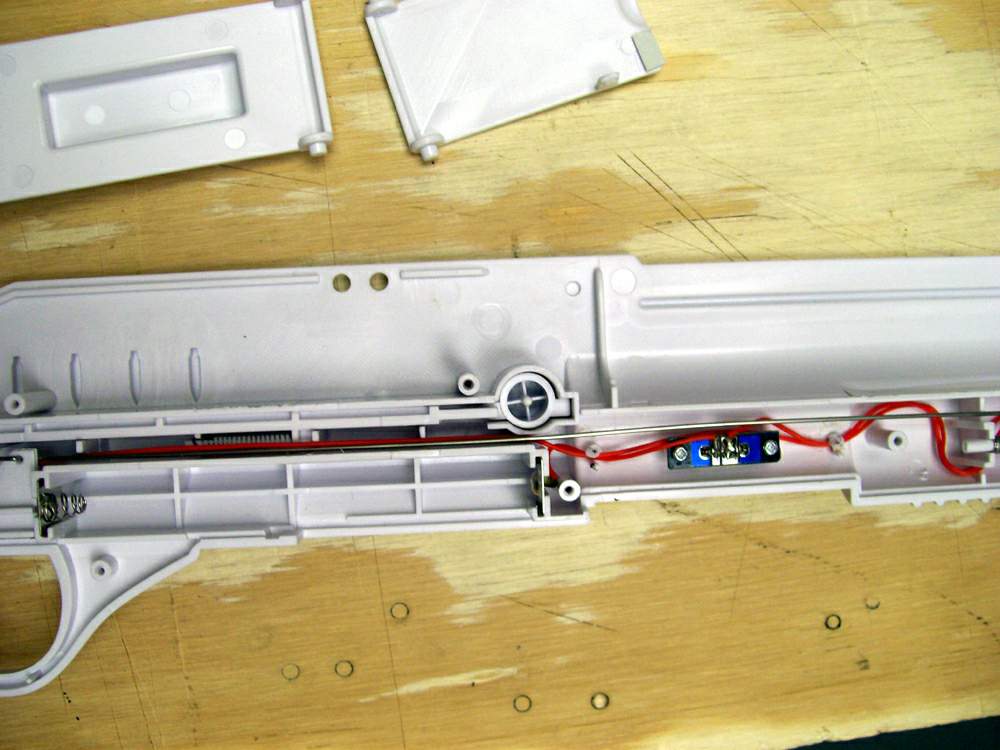
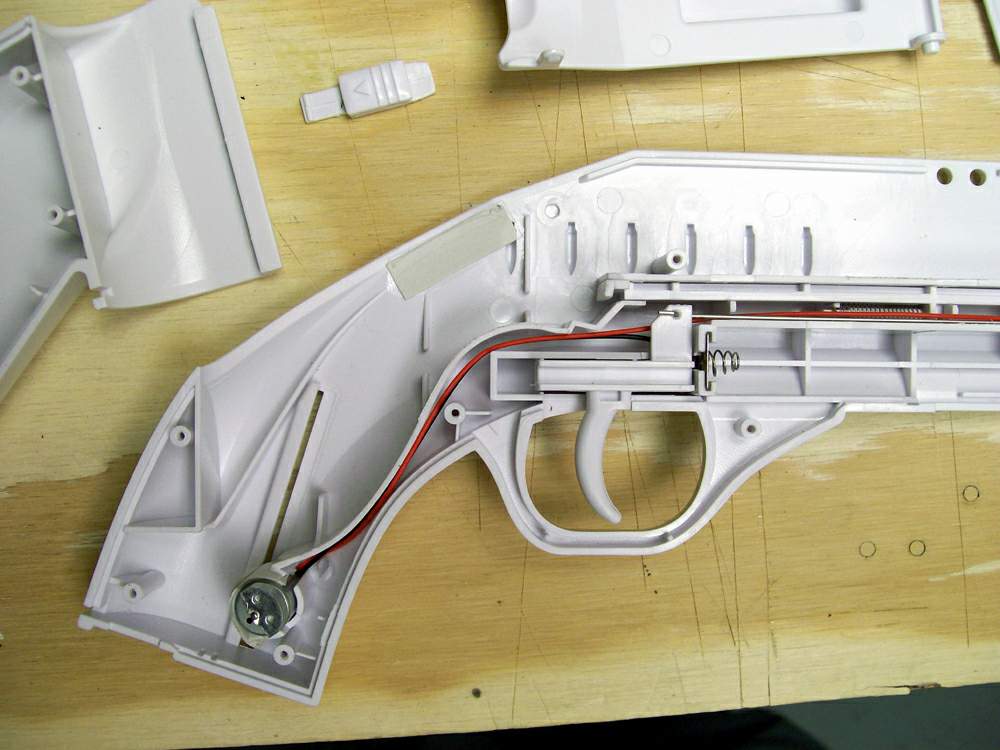
Close-ups of the interior - a.k.a. the ''before'' photos
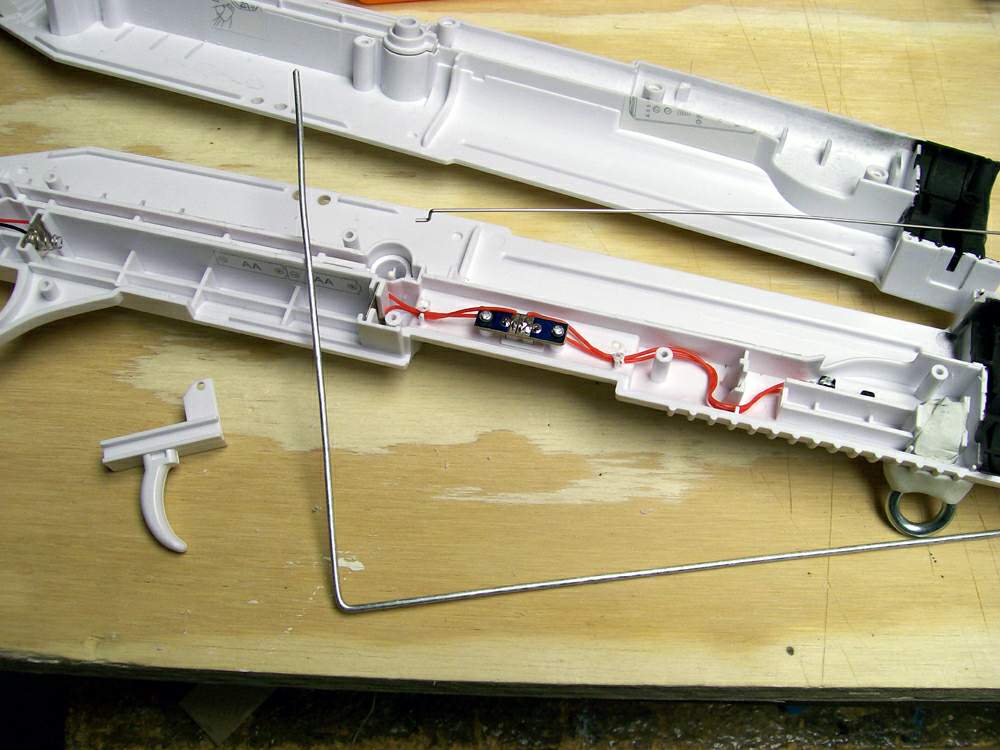
adding a sling was my motivation for modifying the shotgun / rifle, but the intrinsic problem most commonly reported is stiff trigger movement. the interior mechanics of the early models suffered from poorly refined dimensional tolerances. as for the connecting rod, it can be described as ''lightweight''. after searching my available supplies a suitable substitute was found, but was just slightly too large to fit without modifications to the shell ; additional clearance would be required to avoid trigger binding.
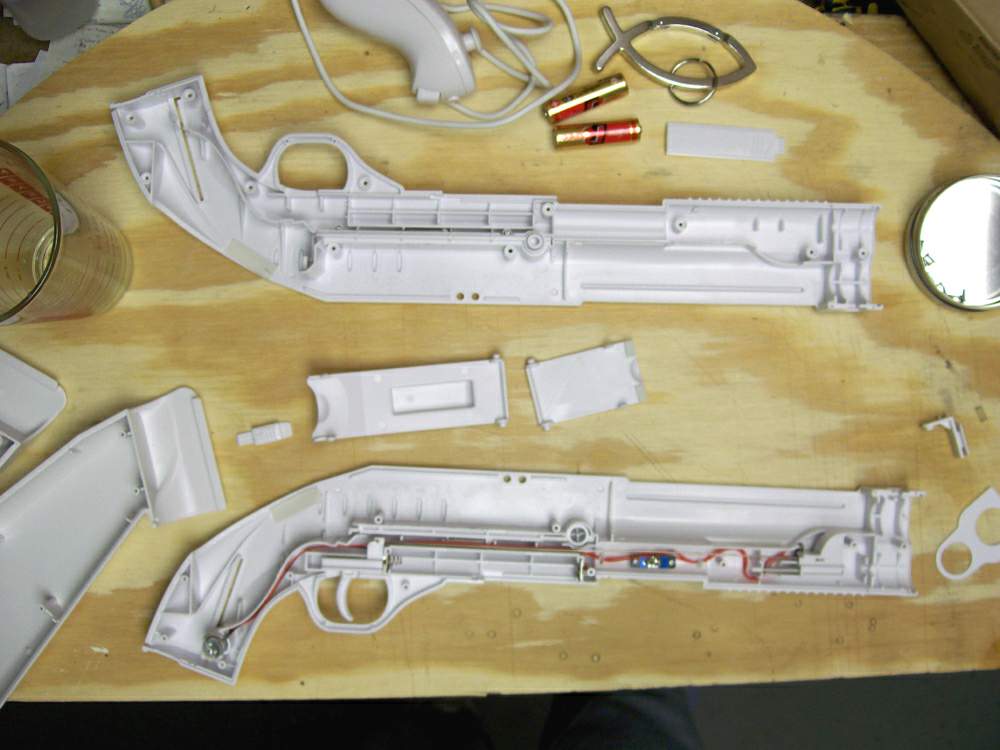
Overview of part orientation
to facilitate disassembling with confidence, at least one photo illustrating the original relative position of all parts is called for. while not required for such a simple conversion, it is a good idea to get into the habit of taking such documentary photos.
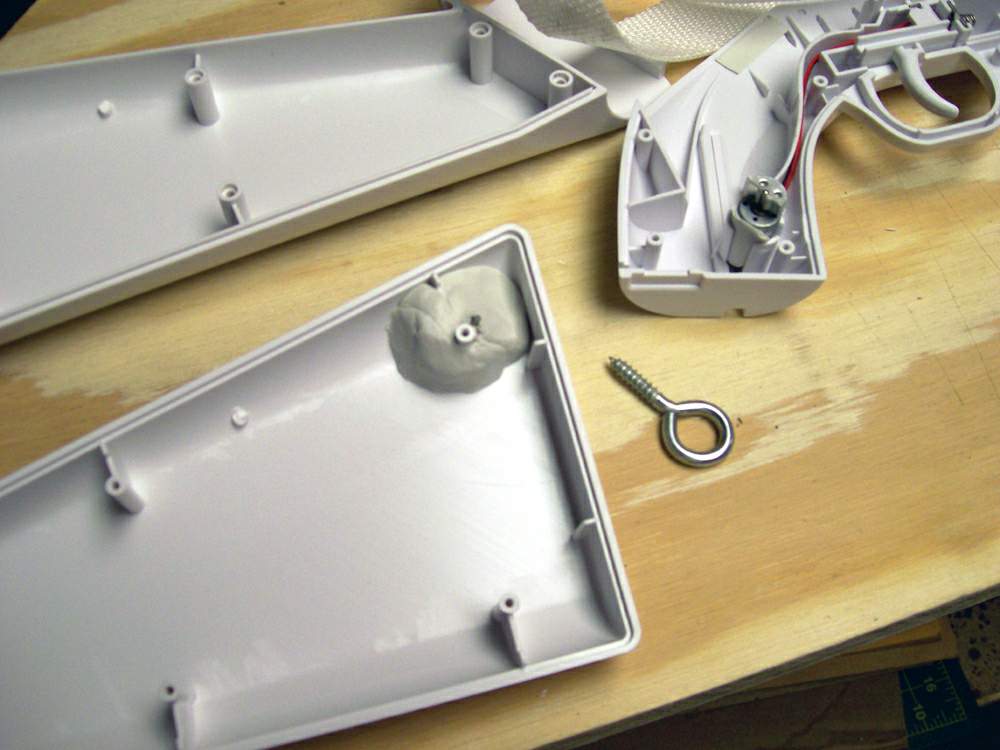

Tailstock interior and exterior
the photos show the internal reinforcement as well as external. given the thin-walled plastic (typical of injection molded cases) internal reinforcement is important - especially when adding a stress-inducing detail like a rifle sling.
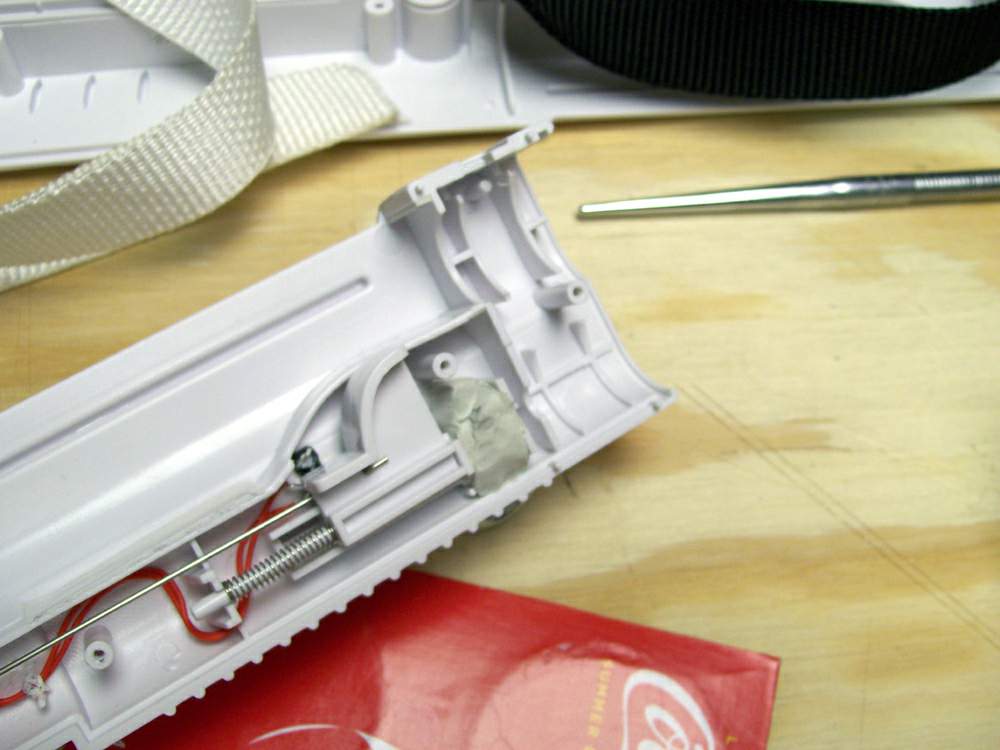
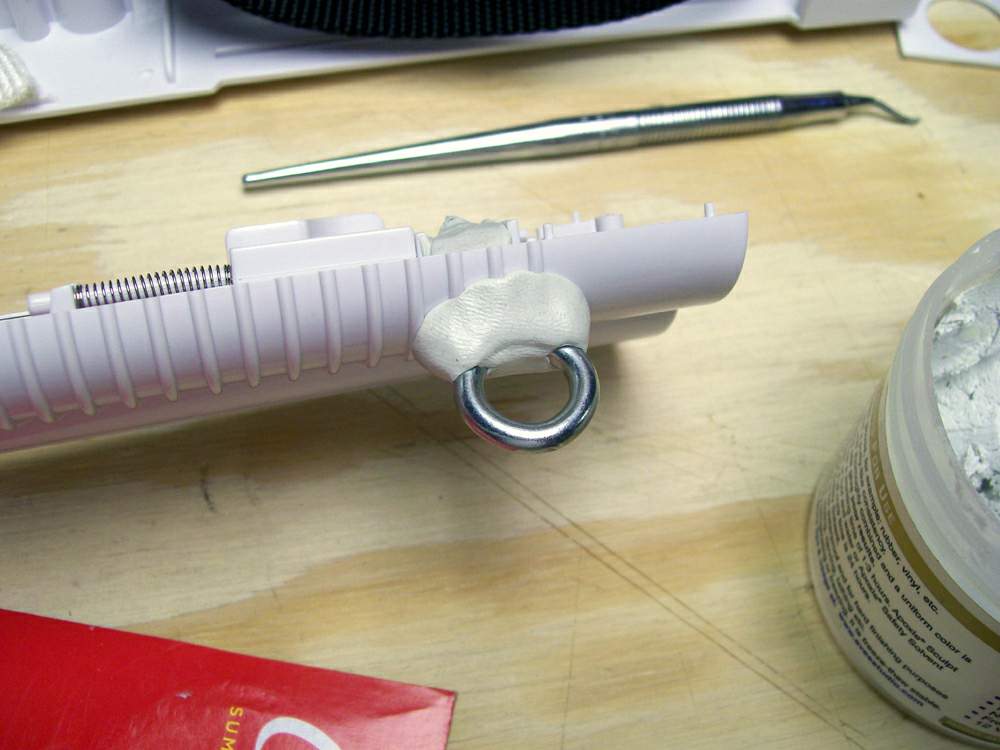
Forestock interior and exterior
the photos show the internal reinforcement as well as external. given the thin-walled plastic (typical of injection molded cases) internal reinforcement is important - especially when adding a stress-inducing detail like a rifle sling.
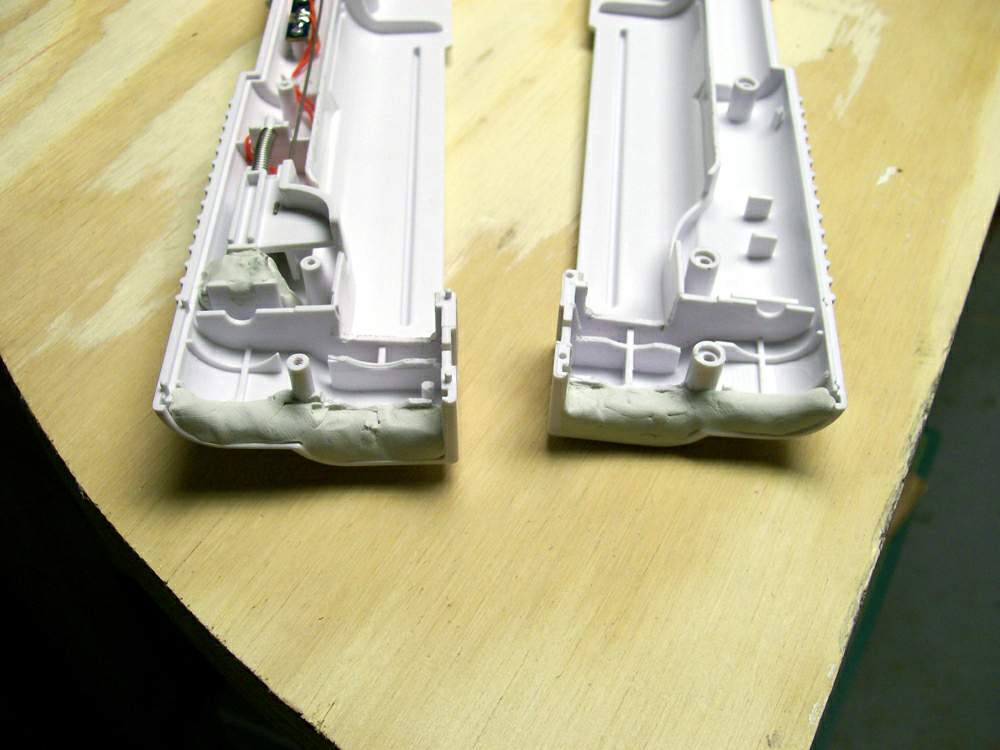
Minimizing internal obstruction of Wii remote
this photo shows the internal fortification added before filing down all surfaces which can cause some interference.
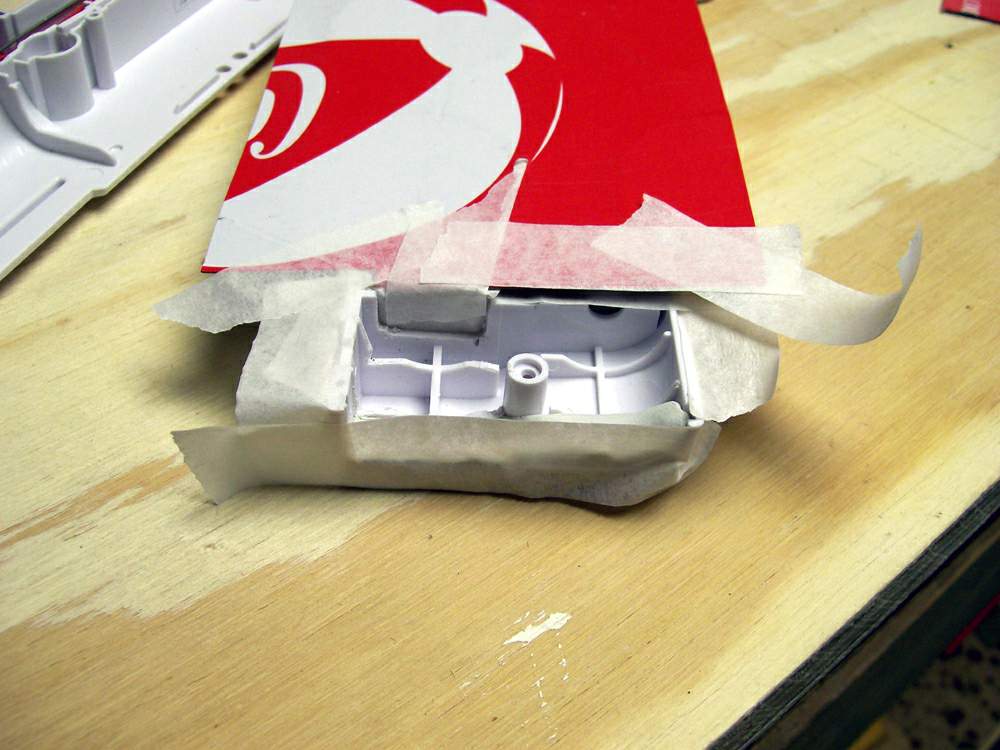
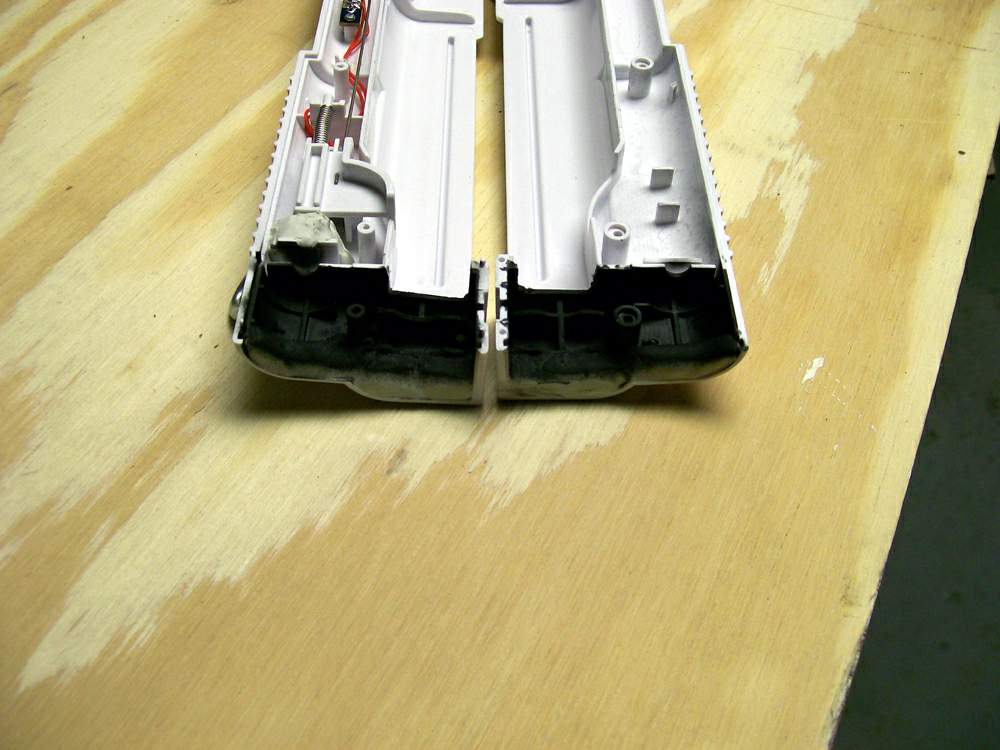
Non-reflective painting of muzzle area
after opening the muzzle area (to minimize obstruction) the next logical step was to paint the interior with non-reflective black paint.
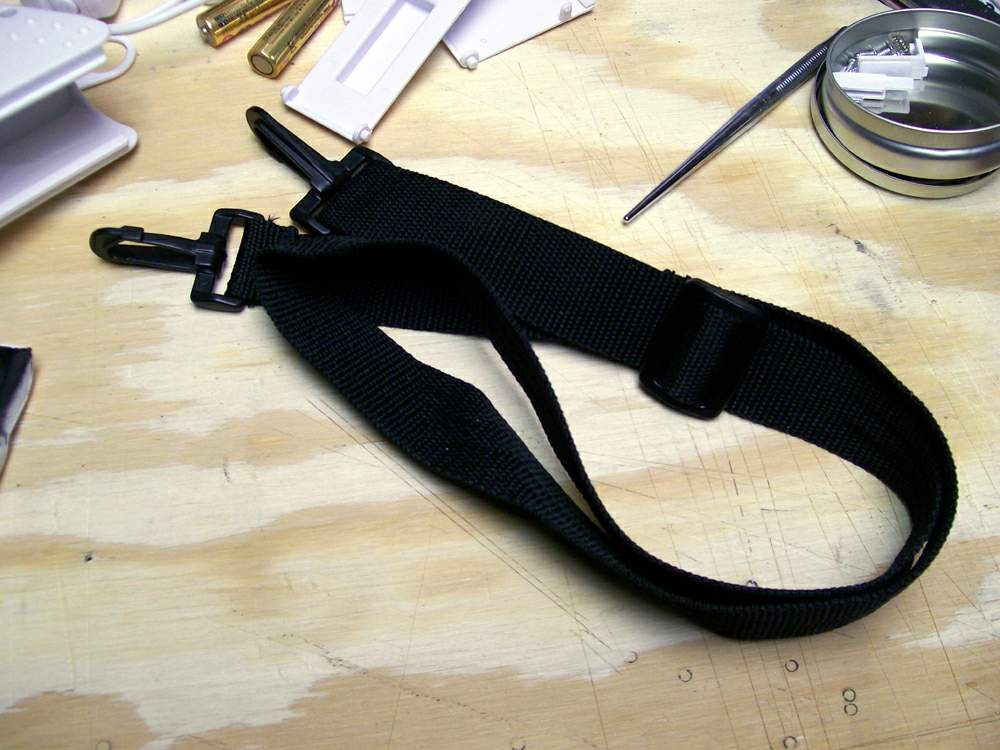
Sling, with hardware
the parts can be gotten between a well-supplied hardware store and a fabric store. an alternative (if you lack sewing equipment or skill) is buying a suitable sling, attached to a shoulder bag of some kind, at a second hand store. personally i pick a few up from time to time to include in various modifications (the bag parts can also serve serendipitous utility).
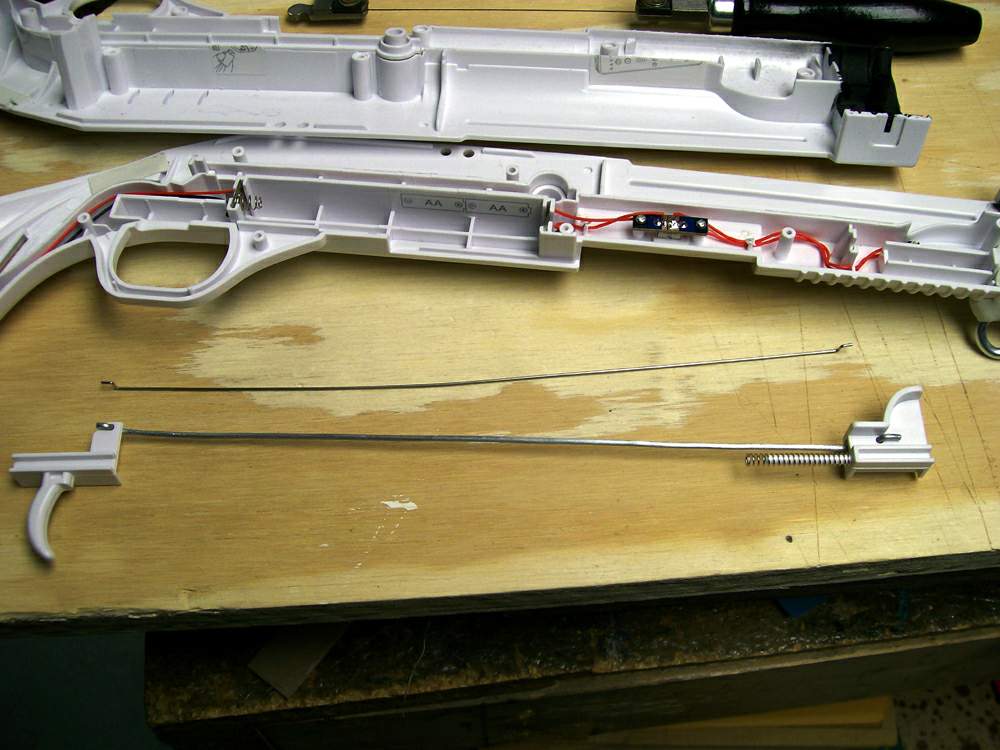
Replacing trigger control rod
the original control rod is flimsy at best, and since i was already working on the shotgun / rifle it seemed logical to replace this as well.
Replacing trigger control rod, part 2
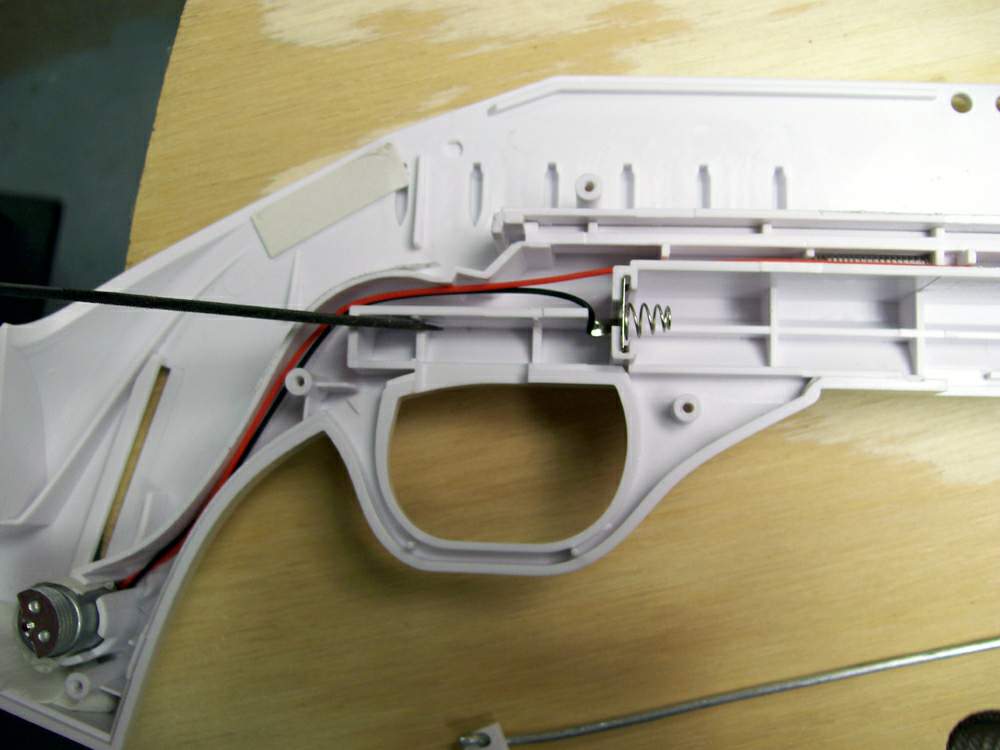
the dimensional difference is immediately obvious. two steps required careful execution : bending the wire to the correct dimensions (with tight internal bends) is crucial, as is carefully drilling the two holes, drilling multiple times, gradually approaching the final opening diameter.
the bend shown is the result of simply bending the wire. using a flat tip screwdriver as a chisel was necessary to achieve the stark, clean, sharp bends required. light sanding after bending removed all potential burrs which could cause binding. modifying the various pinch points to accommodate the larger diameter control rod was also necessary. reassembling the main halves together for a test fitting will quickly demonstrate whether the job is done or not.
Sloppy spring containment design
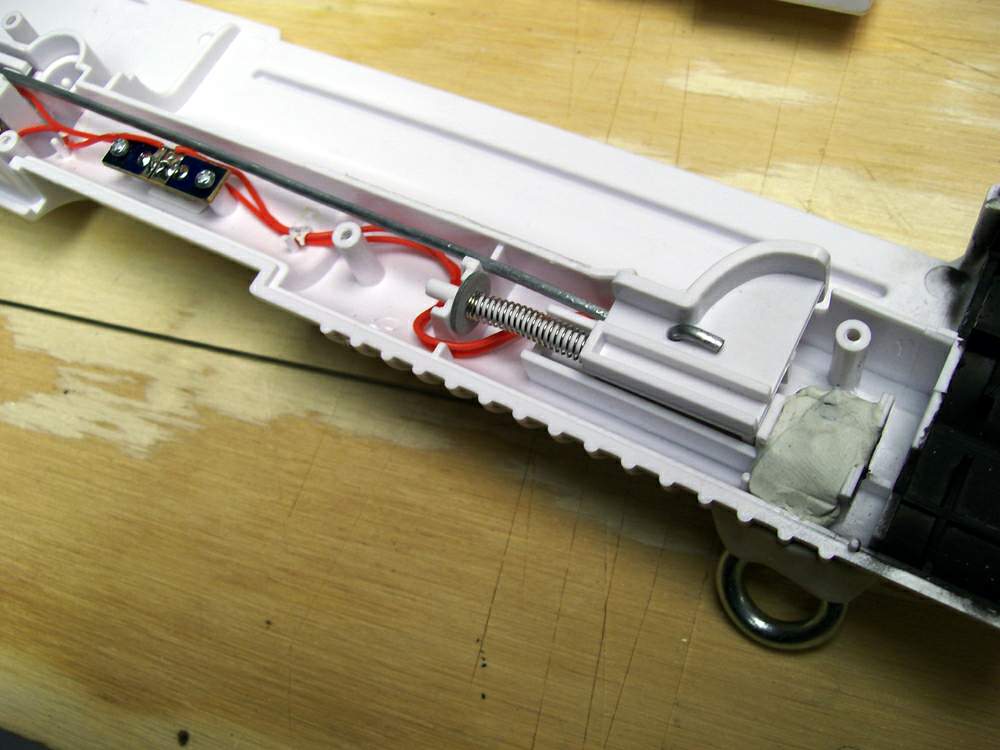
the trigger control rod spring was not being retained properly, and as it slipped over the shaft, through the retaining wall, significant return power was lost. this is one of the easiest ways to increase the return power (returning the trigger to its original position). if i'd taken the time, a beefier substitute could have been found at my local hardware emporium.
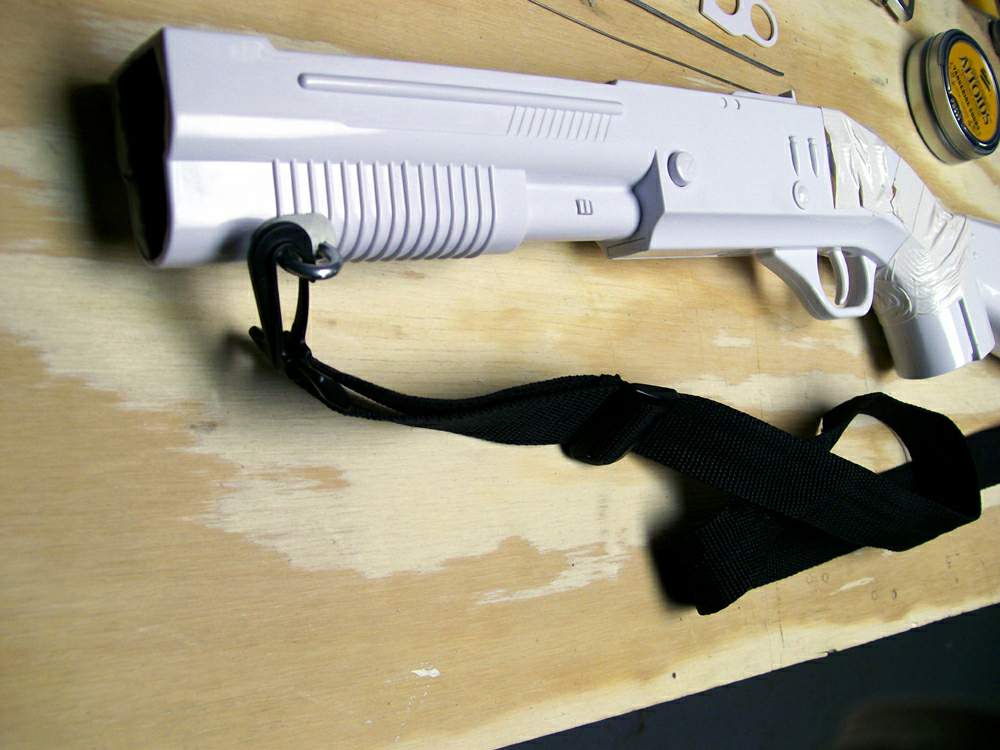
Connecting the sling
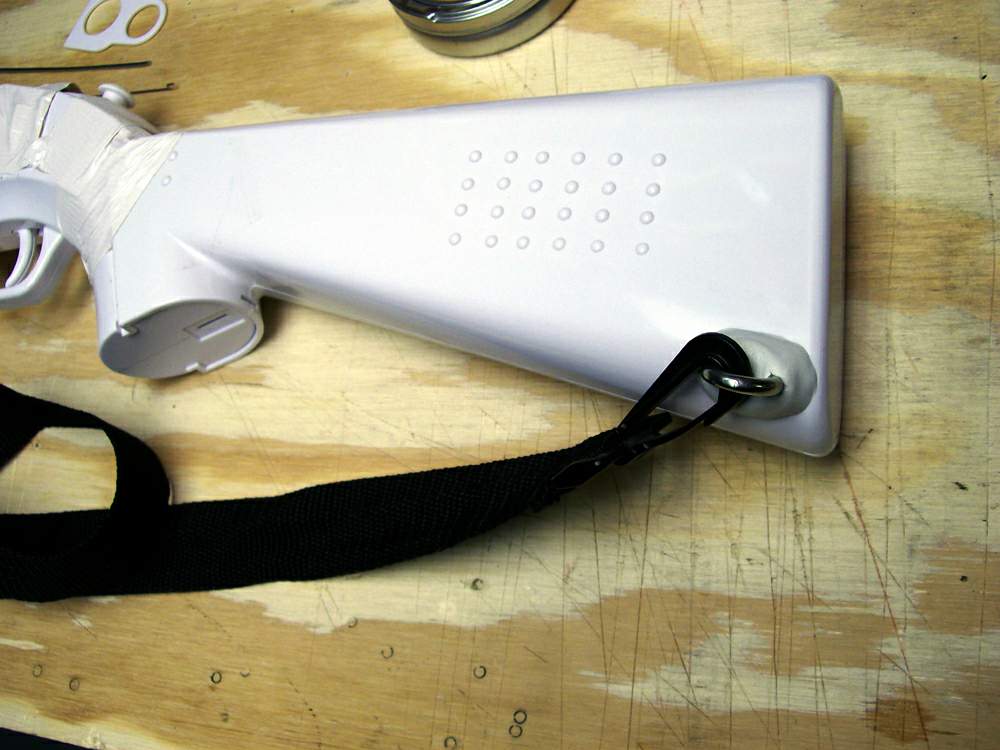
the next step is carefully reassembling the shotgun / rifle for a test-fitting, checking the trigger mechanism for binding before replacing any fasteners. after connecting the sling, only sling adjustment remains.
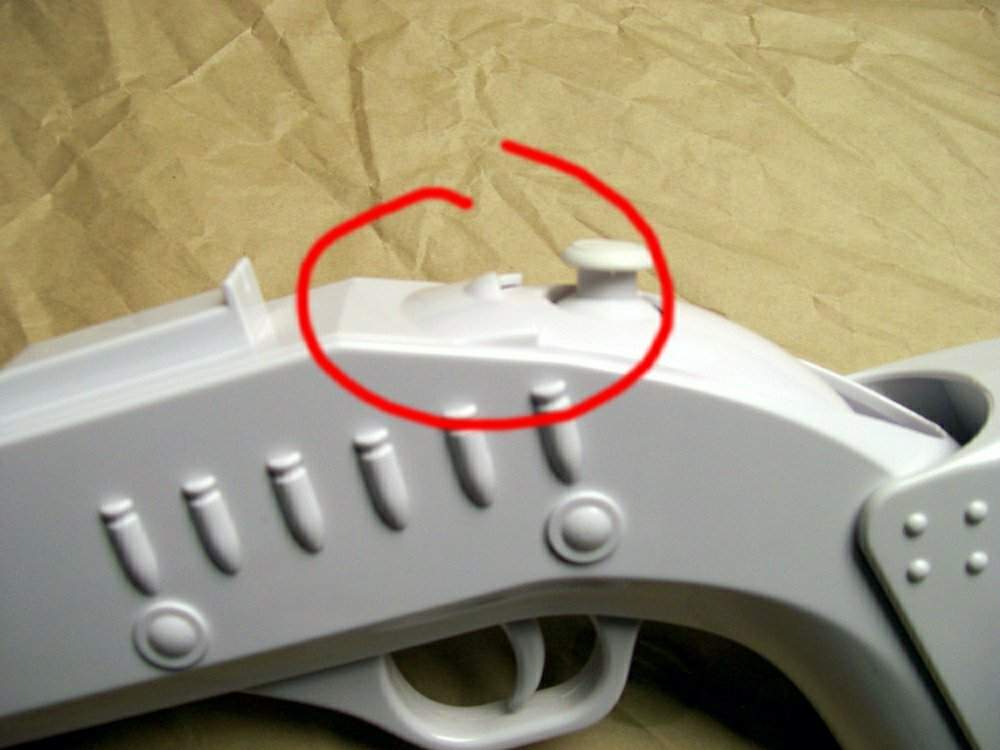
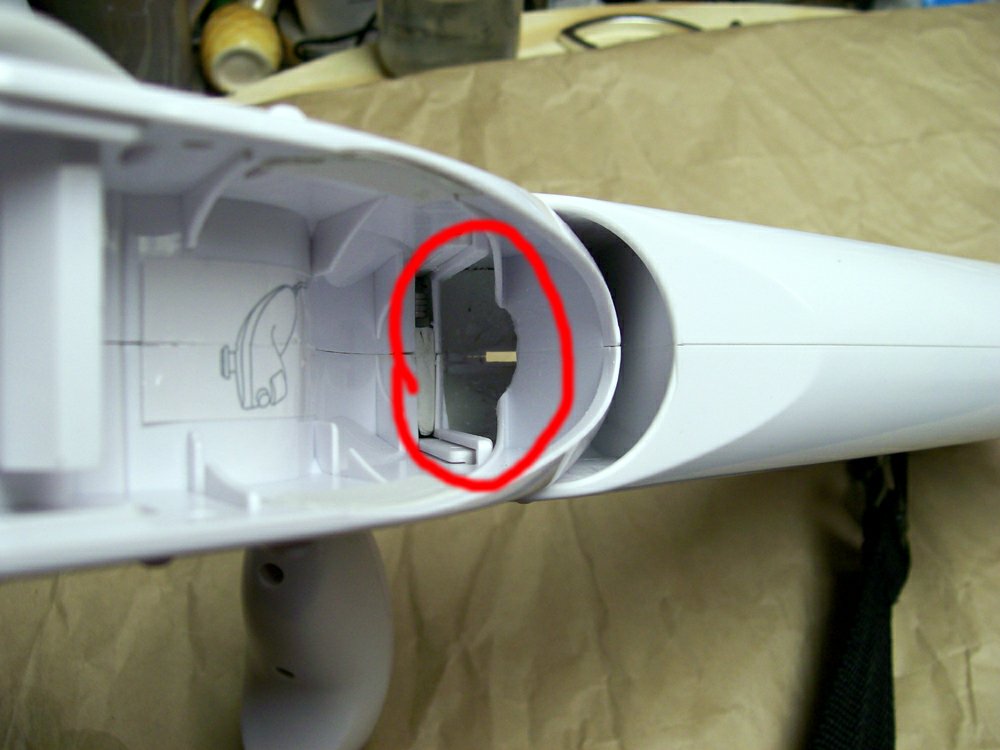
Afterthought : making the nunchuck cover door close properly
few (if any) have nunchuck covers that close properly. the most common result is a cable being pinched, requiring repair of the cable (personal experience talking) or replacement of the nunchuck. my CTA has a dedicated set of controllers to avoid this problem, but a dedicated nunchuck alone would be just as good a precaution. nunchucks are cheap when ordered directly from China, and getting one would be a good investment if only for the time saved in setting up and tearing down.
getting the cover to close properly (see photo on left) requires an aggressive removal of materials. still, the modifications needed are simple enough once you know where to begin. nearly all material removal can be done on the back of the pistol trigger grip area, nearest the butt stock (see photo on right). unsolicited advice : remove material slowly, test-fitting often. the cover will 'snap' into place when sufficient material has been removed. be sure to route the cable in the wireways provided, and leave a little slack below the nunchuck when it is fully seated. never use force when seating the nunchuck or closing the cover.
even with a nunchuck cover that closes properly you may still want some additional security. my CTA has a piece of white duct tape holding the rifle butt in position on the pistol grip (not shown) which also spans the unsightly gap, and another piece holding the nunchuck cover down.